

Learn more about the product on the Aletyx AI Assistant page.
Where it worksThe Aletyx AI Assistant connects to Aletyx Decision Control. Support for the Aletyx Playground is planned and will be documented when it ships.
What you get
The assistant shows up in two places, depending on what you’re doing:
The steps below set up the in-editor assistant, which uses the personal token you create when you subscribe. The Prompting chat is set up for you by Aletyx and doesn’t need this token.
How to subscribe
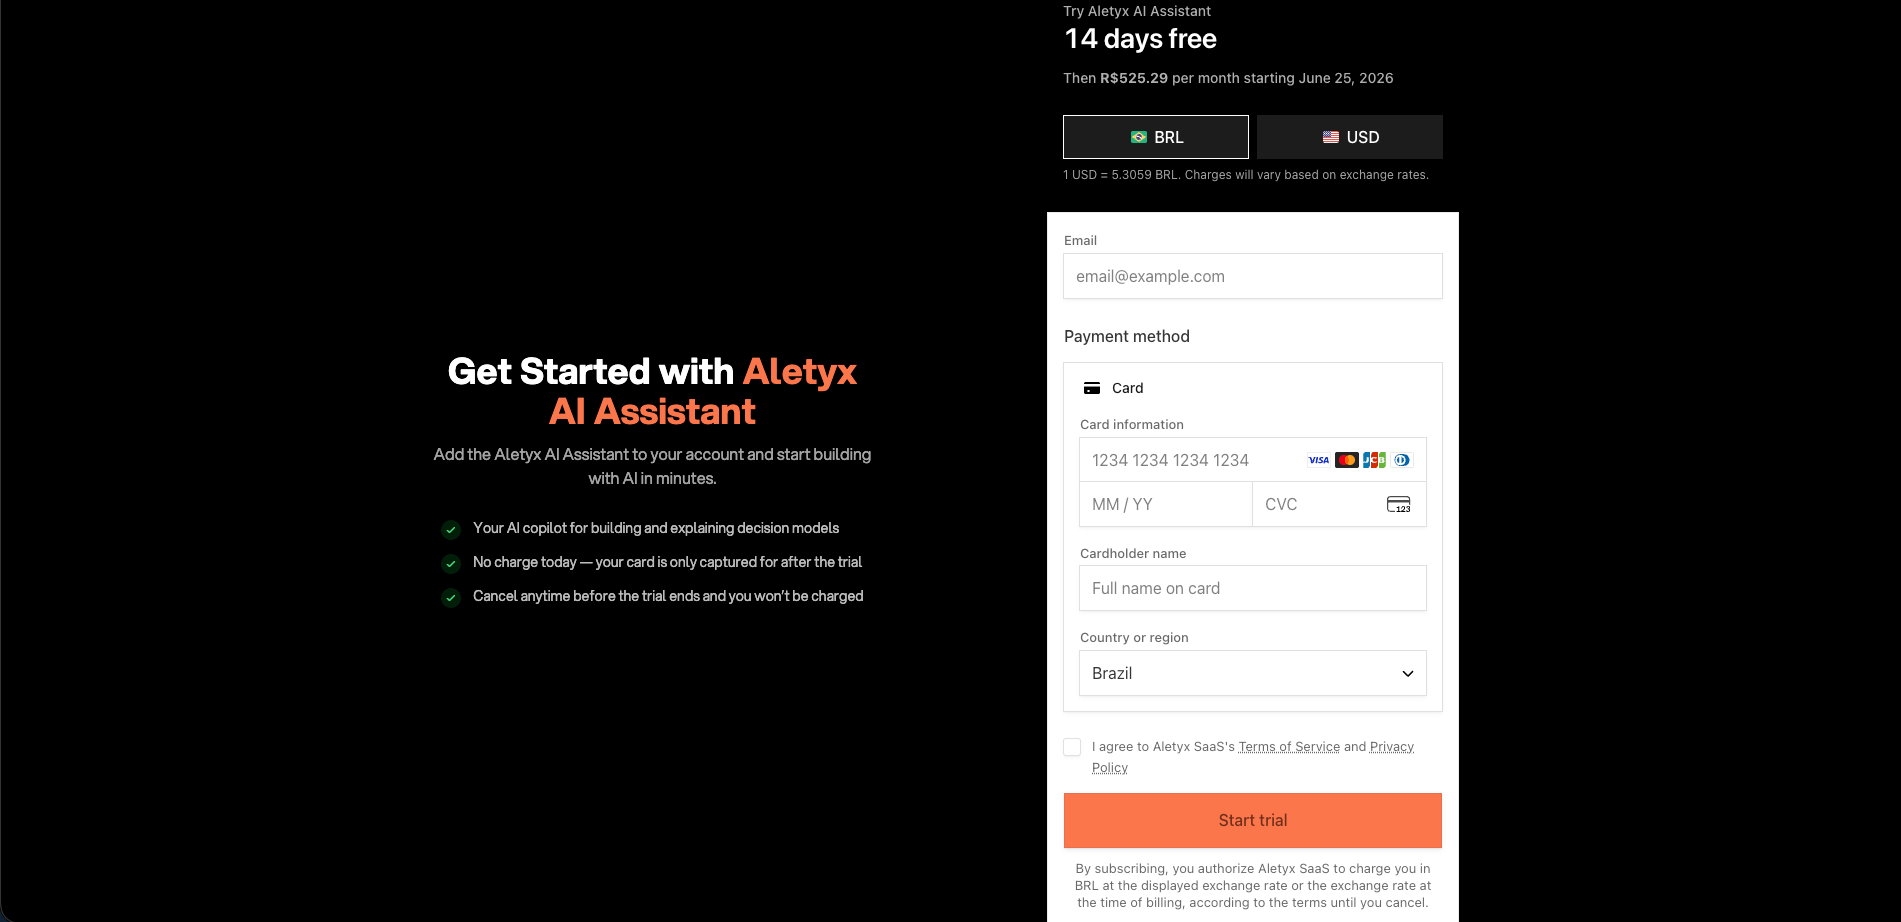
You subscribe on the Aletyx account site, My Aletyx (my.aletyx.ai). It starts with a 14-day free trial - your card is saved but not charged until the trial ends, and you can cancel anytime before then without being charged.
How you start depends on whether you already have an Aletyx account:
- Already have a My Aletyx account (for example, you already use Maven, Registry, or Files): log in to My Aletyx and choose Add AI Assistant.
- New to Aletyx: go to my.aletyx.ai/ai-assistant and sign up with your email.
- Enter your email and payment method (card details and cardholder name), and pick your country and currency (BRL or USD).
- Tick I agree to Aletyx SaaS’s Terms of Service and Privacy Policy.
- Click Start trial. Verify: Your free trial starts and the AI Assistant is added to your account - with no charge today.
- Check your email. You’ll get a message confirming your account was created, with a Log In to Dashboard button, then click it to open your dashboard. Verify: You’re signed in to your My Aletyx dashboard.
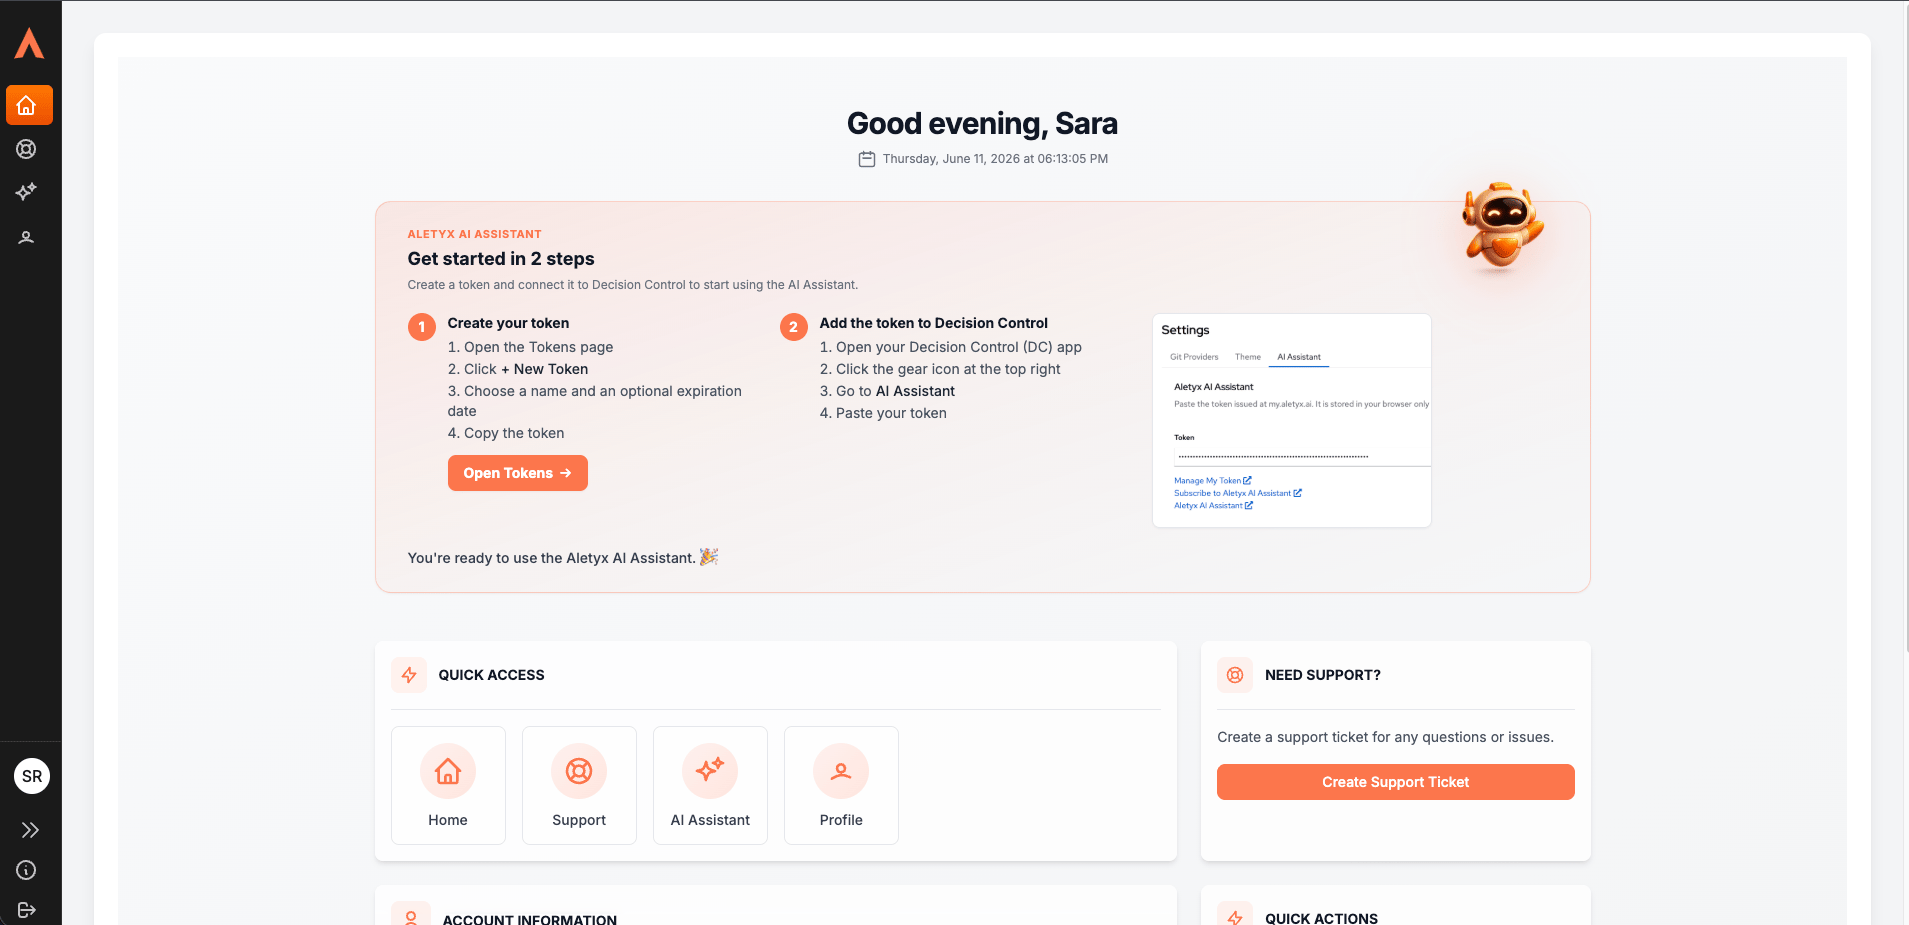
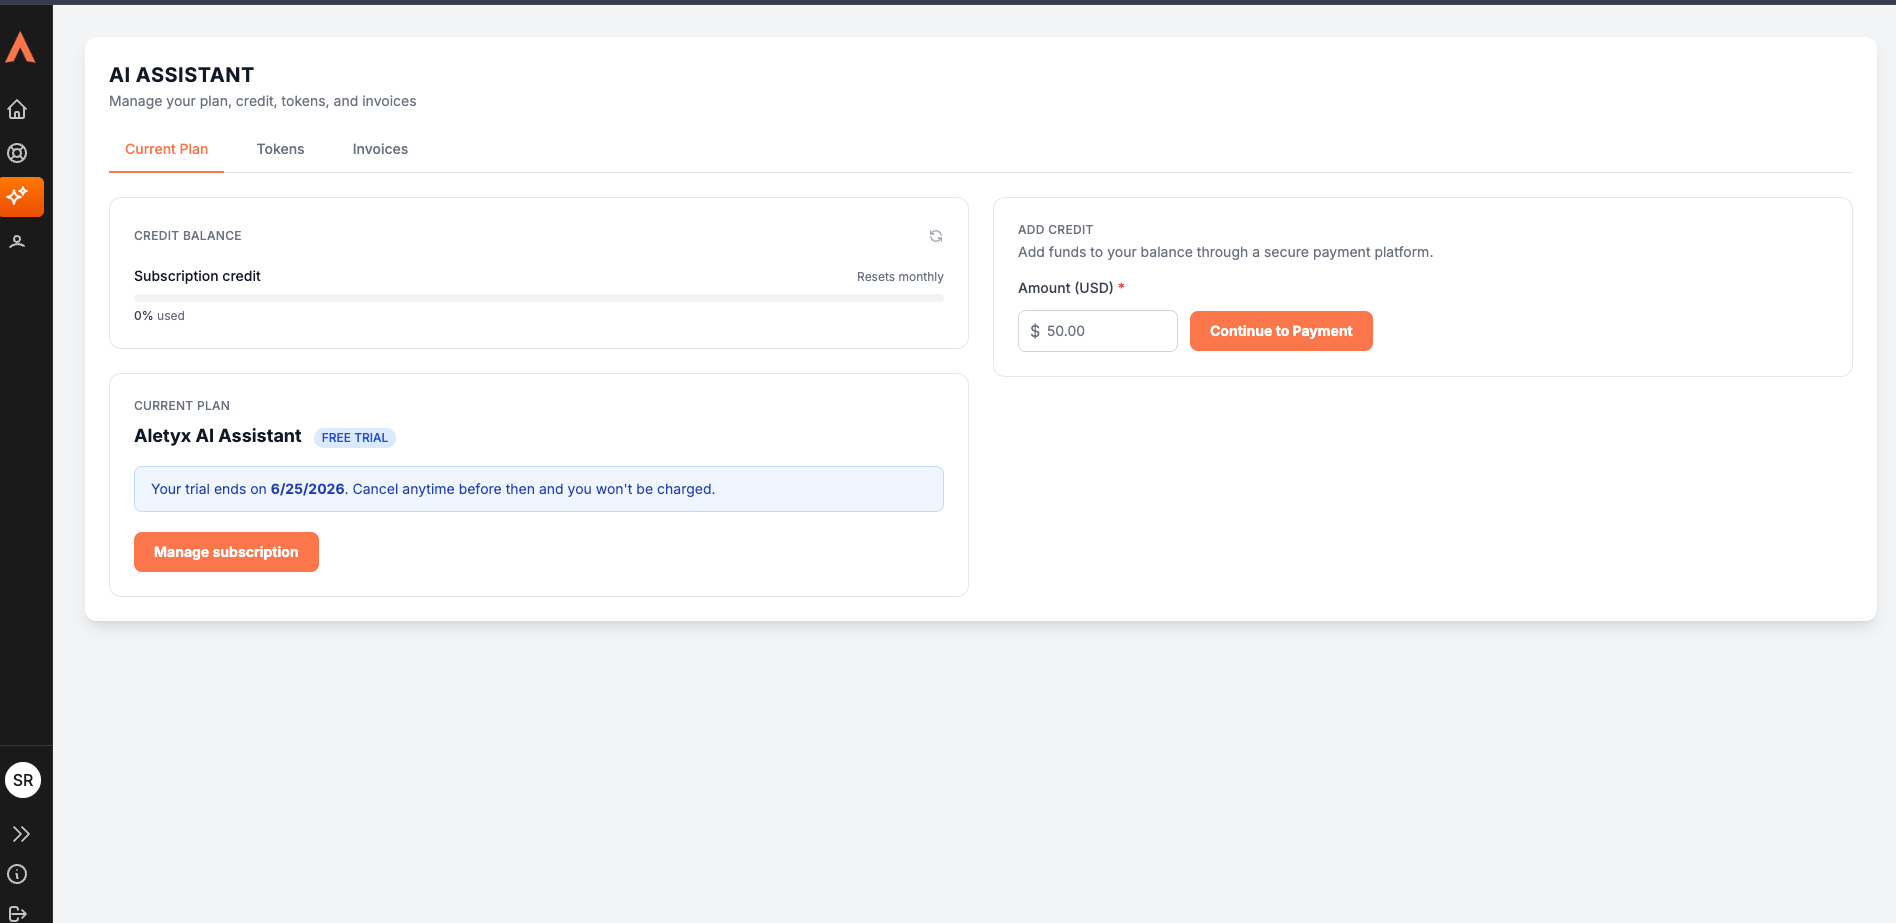
Free trial and billingThe first 14 days are free. After the trial, the subscription renews monthly at the price shown at checkout (in BRL or USD). Cancel before the trial ends and you won’t be charged.
- Current Plan - your plan and trial status, your credit balance (resets monthly), an Add credit option, and Manage subscription (to change or cancel).
- Tokens - create and manage the tokens that connect the assistant to Decision Control (next section).
- Invoices - your billing history.
How to create and connect your token
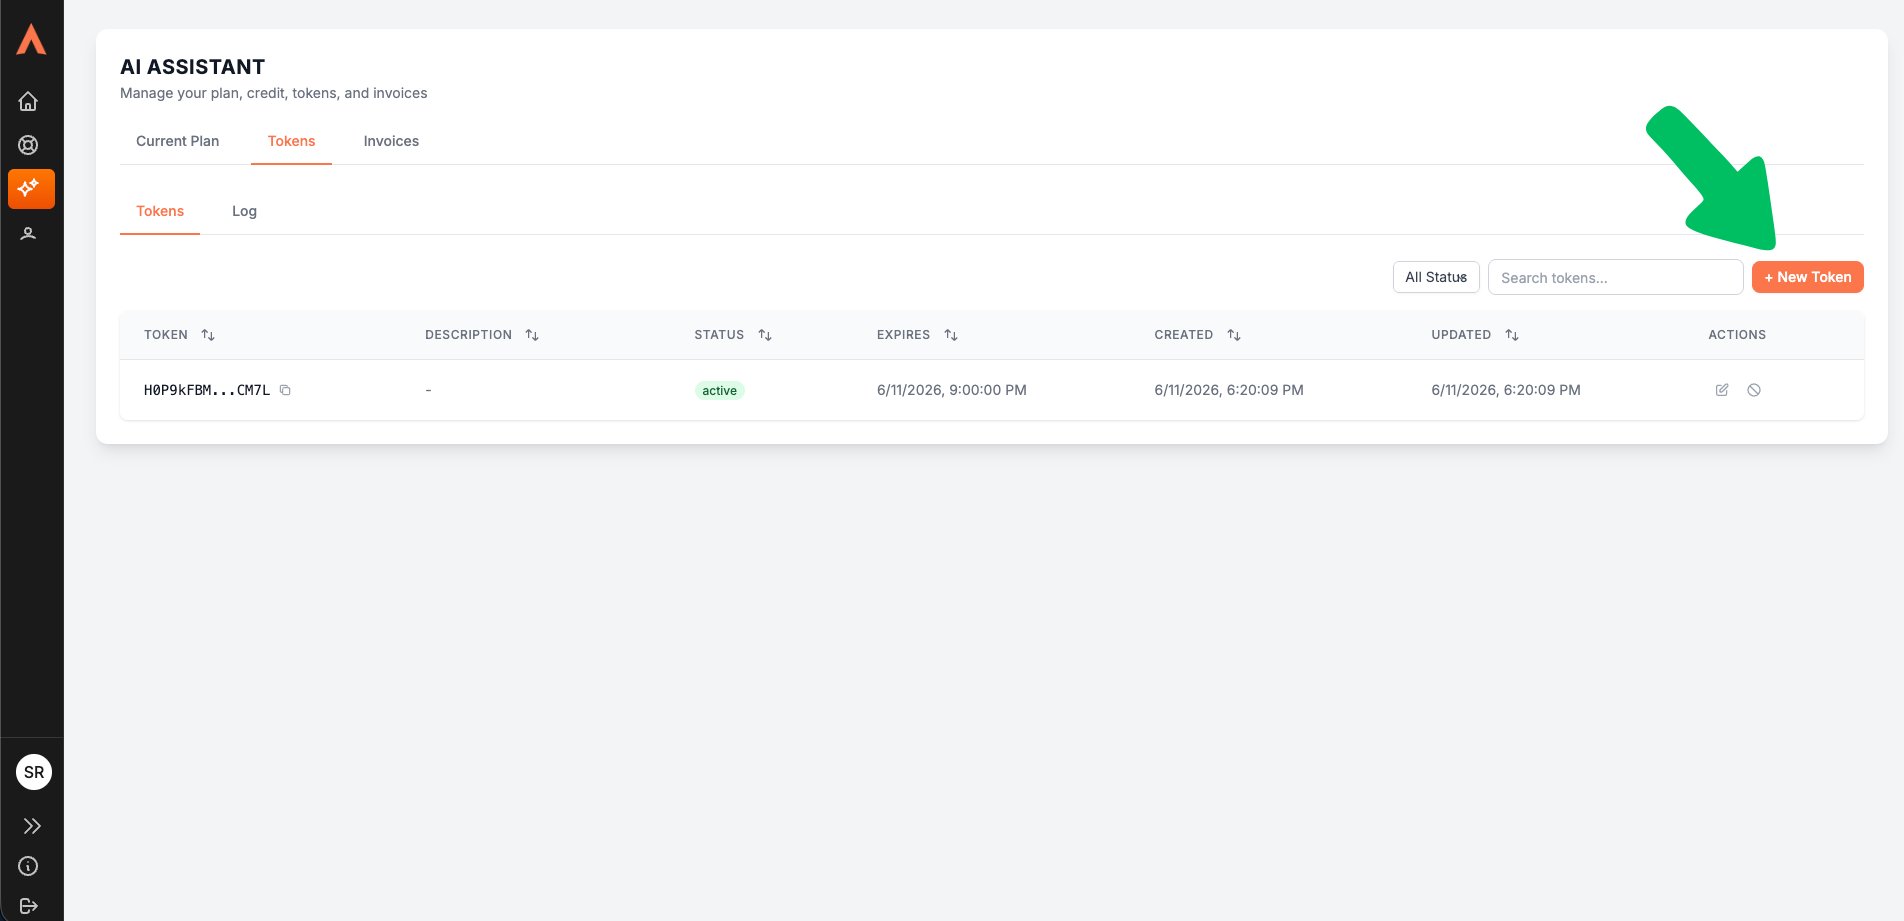
The assistant connects to Decision Control using a token - a code you create in your My Aletyx dashboard and paste into Decision Control. Decision Control checks it for you automatically; there’s no Save button. Steps:- Open the Tokens tab - click Open Tokens on the dashboard home page, or click the AI Assistant icon in the sidebar and select the Tokens tab.
- Click + New Token, then copy the token. Verify: The new token appears in your list.
- In Decision Control, click the gear icon (top-right) → AI Assistant. Verify: You see the Token field and the Manage My Token and Subscribe links.
- Paste the token into the Token field. Use the eye icon to show or hide it while you check it. Verify: The status shows “Validating token…”, then “Token is valid.” - the assistant is ready to use.
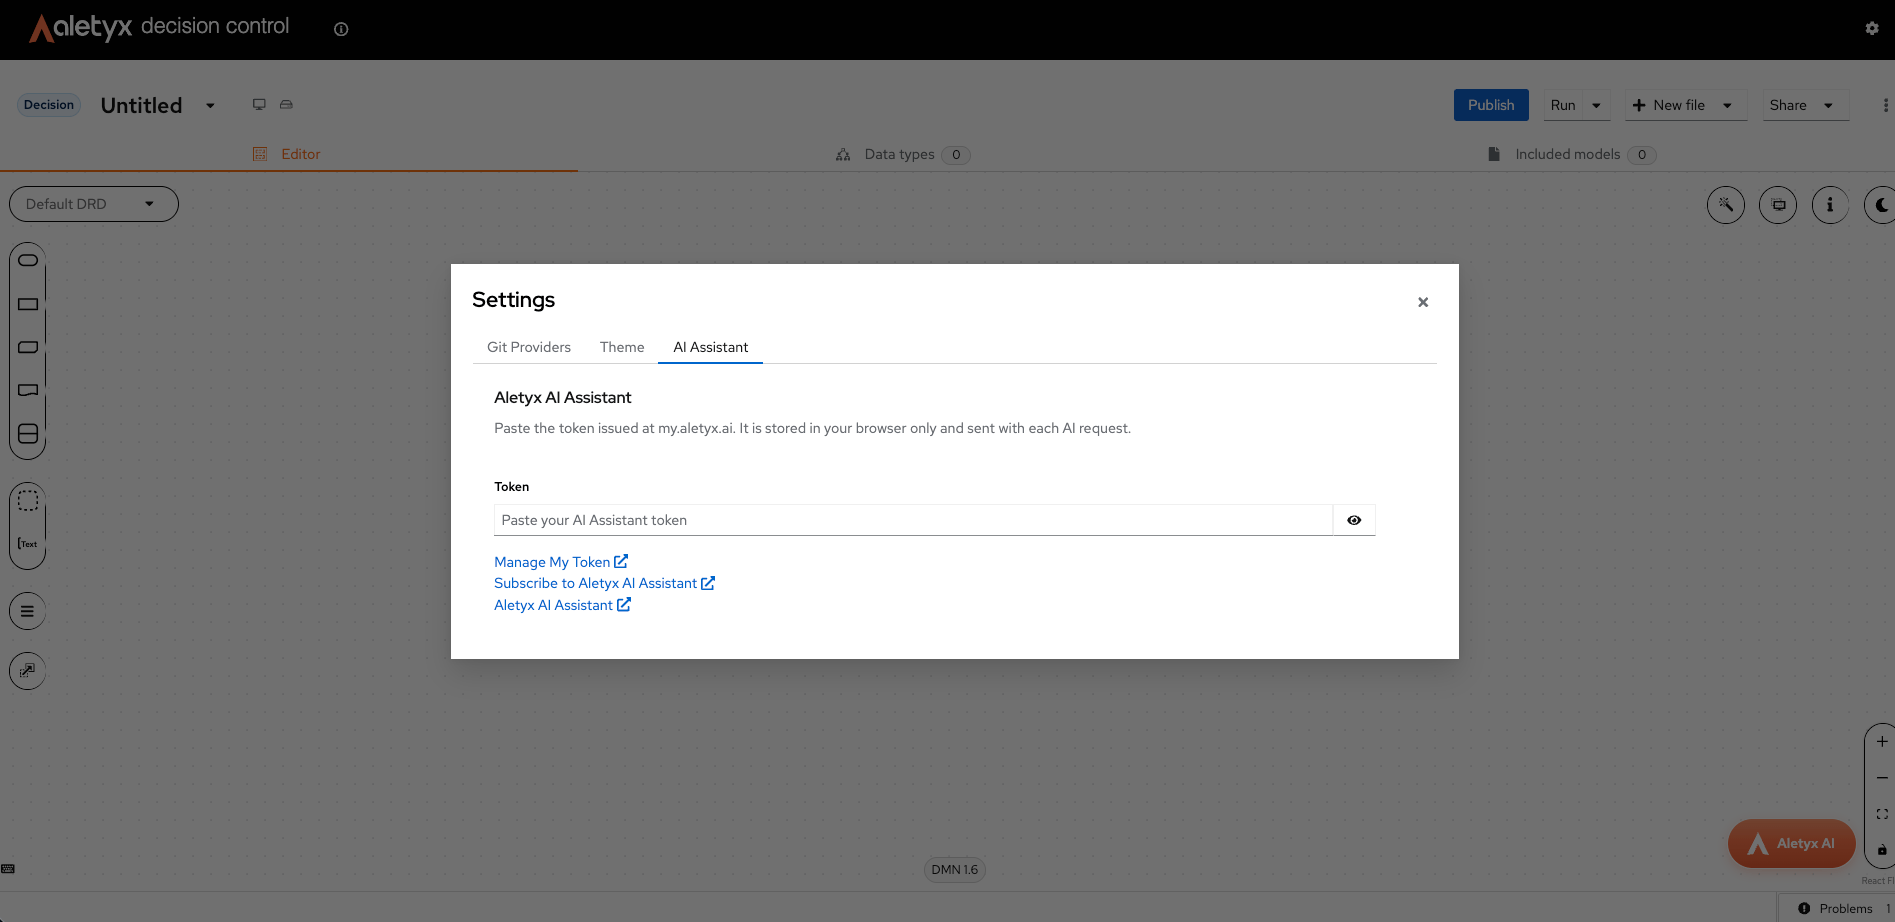
- If you see “Token is invalid,” copy the token again from your dashboard and re-paste it. If you see “Could not reach the validation service,” click Retry. Verify: The status changes to “Token is valid.”
- To create a new token, renew, or revoke one, click Manage My Token - it opens your dashboard, where the tokens themselves are managed.
- To turn the assistant off on this computer, clear the Token field. The assistant then shows “AI Assistant disabled.”
Your token stays in your browserThe token is saved in your browser on this computer only - it isn’t shared with other people or devices. If you switch computers, paste it again.
How to cancel your subscription
You manage billing and cancellation from your My Aletyx dashboard. Steps:- Open the AI Assistant section (click the AI Assistant icon in the sidebar) and go to the Current Plan tab.
- Click Manage subscription.
- Open Active plan.
- Inside Active plan, click Cancel plan and confirm. Verify: Your subscription is marked for cancellation.
How to interact with the assistant
Here are two ways to start. Each links to a full step-by-step guide.Build or change a model in the editor
With a model open, click the floating Aletyx AI button (bottom-right of the editor) to open the assistant, then describe what you want: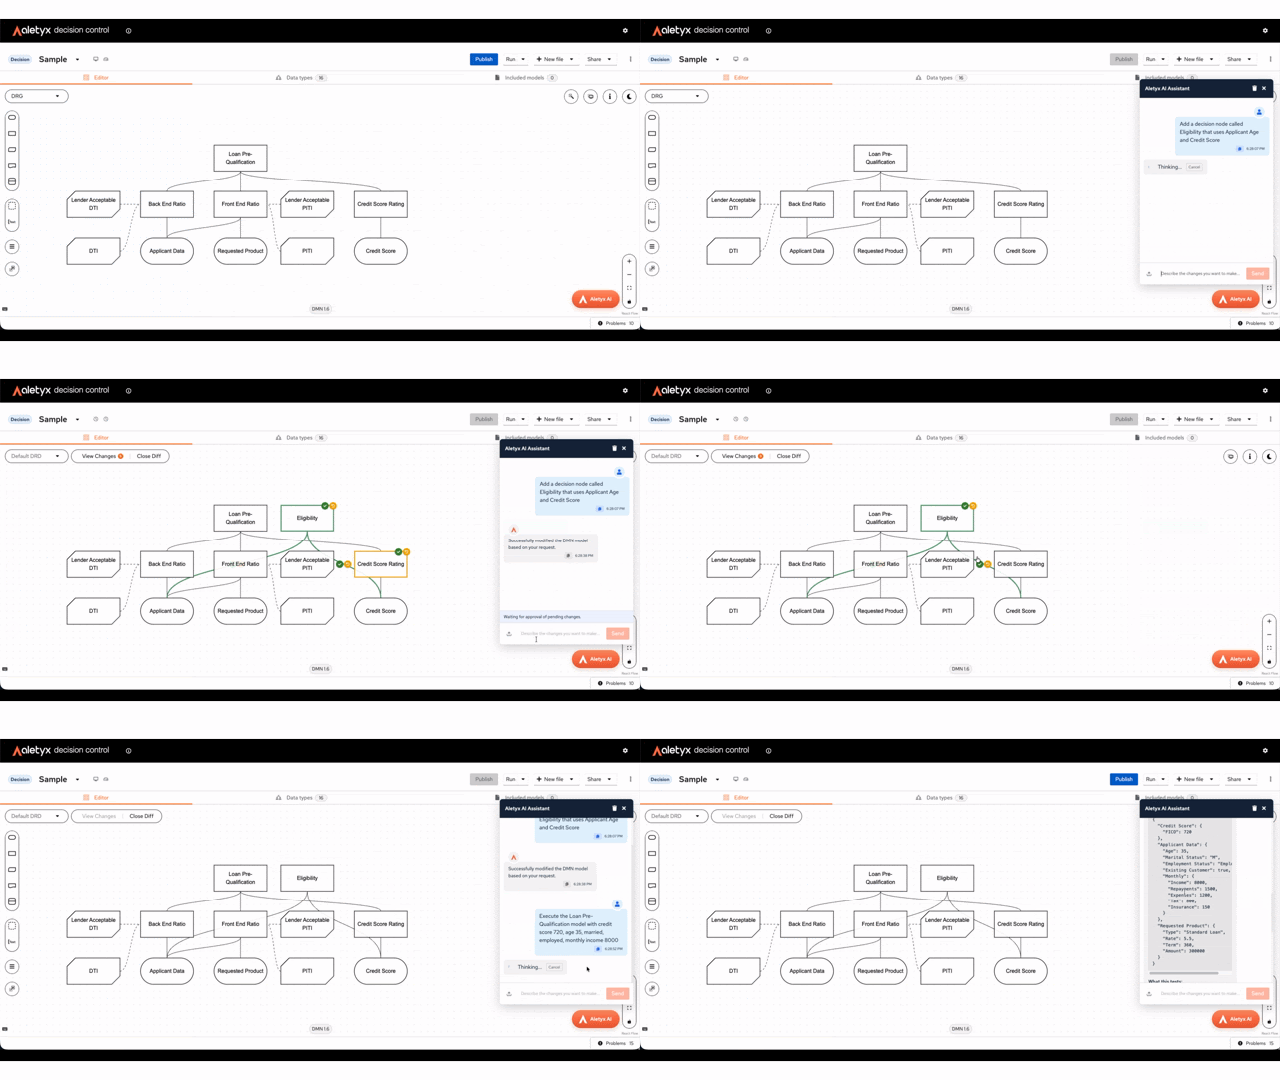
Ask questions and run a decision in chat
In the Prompting chat, ask the assistant to run a published model. Include the details upfront to get an answer in one step:Next steps
- Authoring – AI Assistant - build and edit models with AI
- Prompting - run decisions conversationally
- Aletyx AI Assistant product page