

What you need
- An email address and a payment card. The subscription starts with a 14-day free trial - your card is saved but not charged today, and you can cancel anytime before the trial ends without being charged.
- A browser open at playground.aletyx.ai.
Setup
1
Open the Aletyx Playground
Go to playground.aletyx.ai. From the home screen you can create a new Decision, Decision Table, or Workflow, import existing files, or open a ready-made example with Try sample. To follow along, click Try sample under Decision.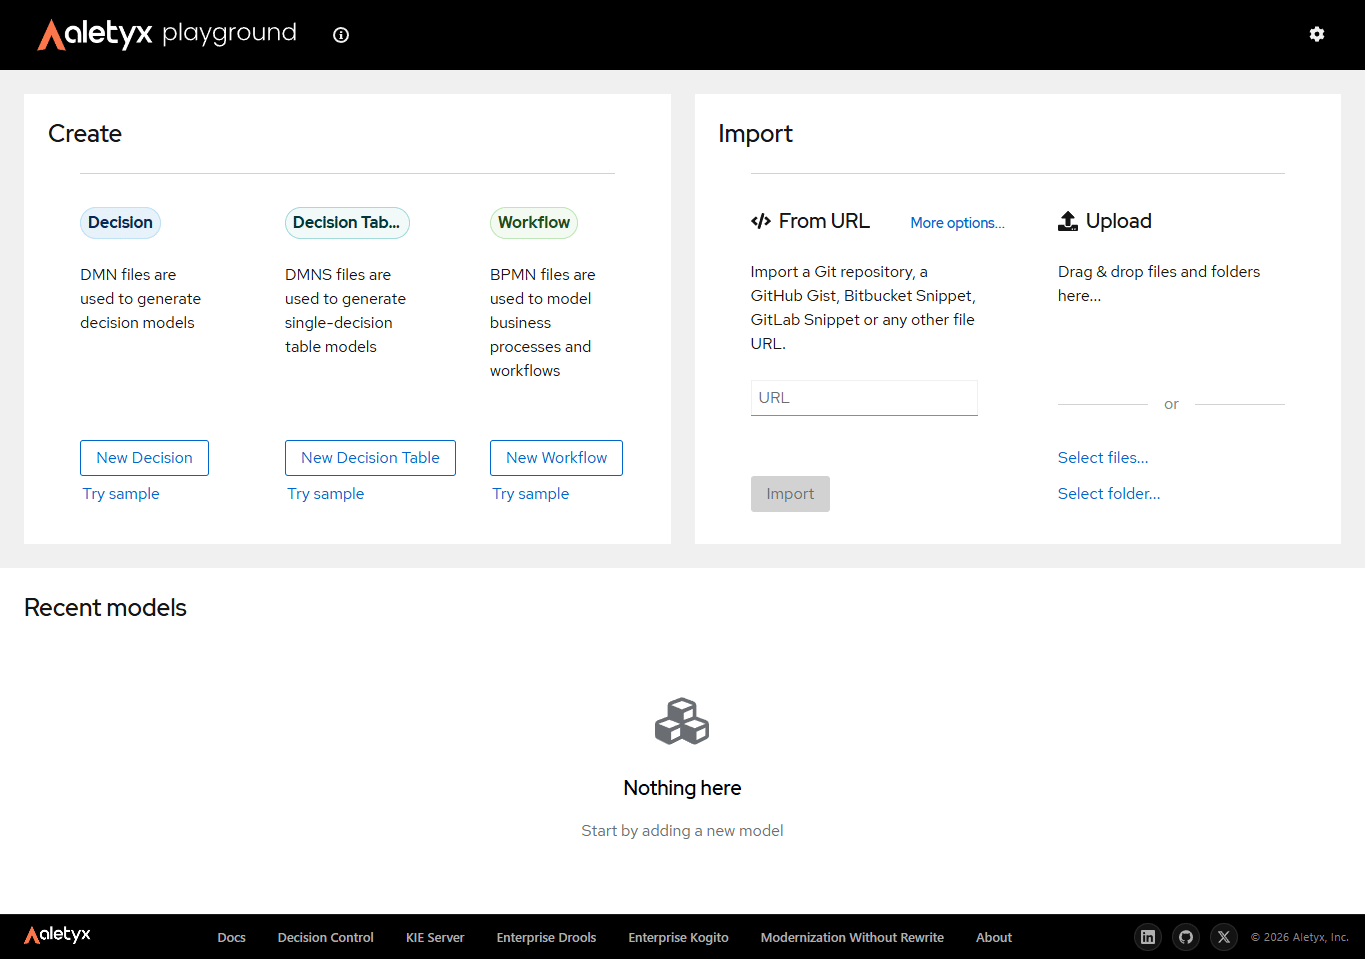
2
Open a decision model in the editor
The sample opens a Loan Pre-Qualification DMN model in the decision editor. Notice the floating Aletyx AI button at the bottom-right of the canvas - that’s where the assistant lives.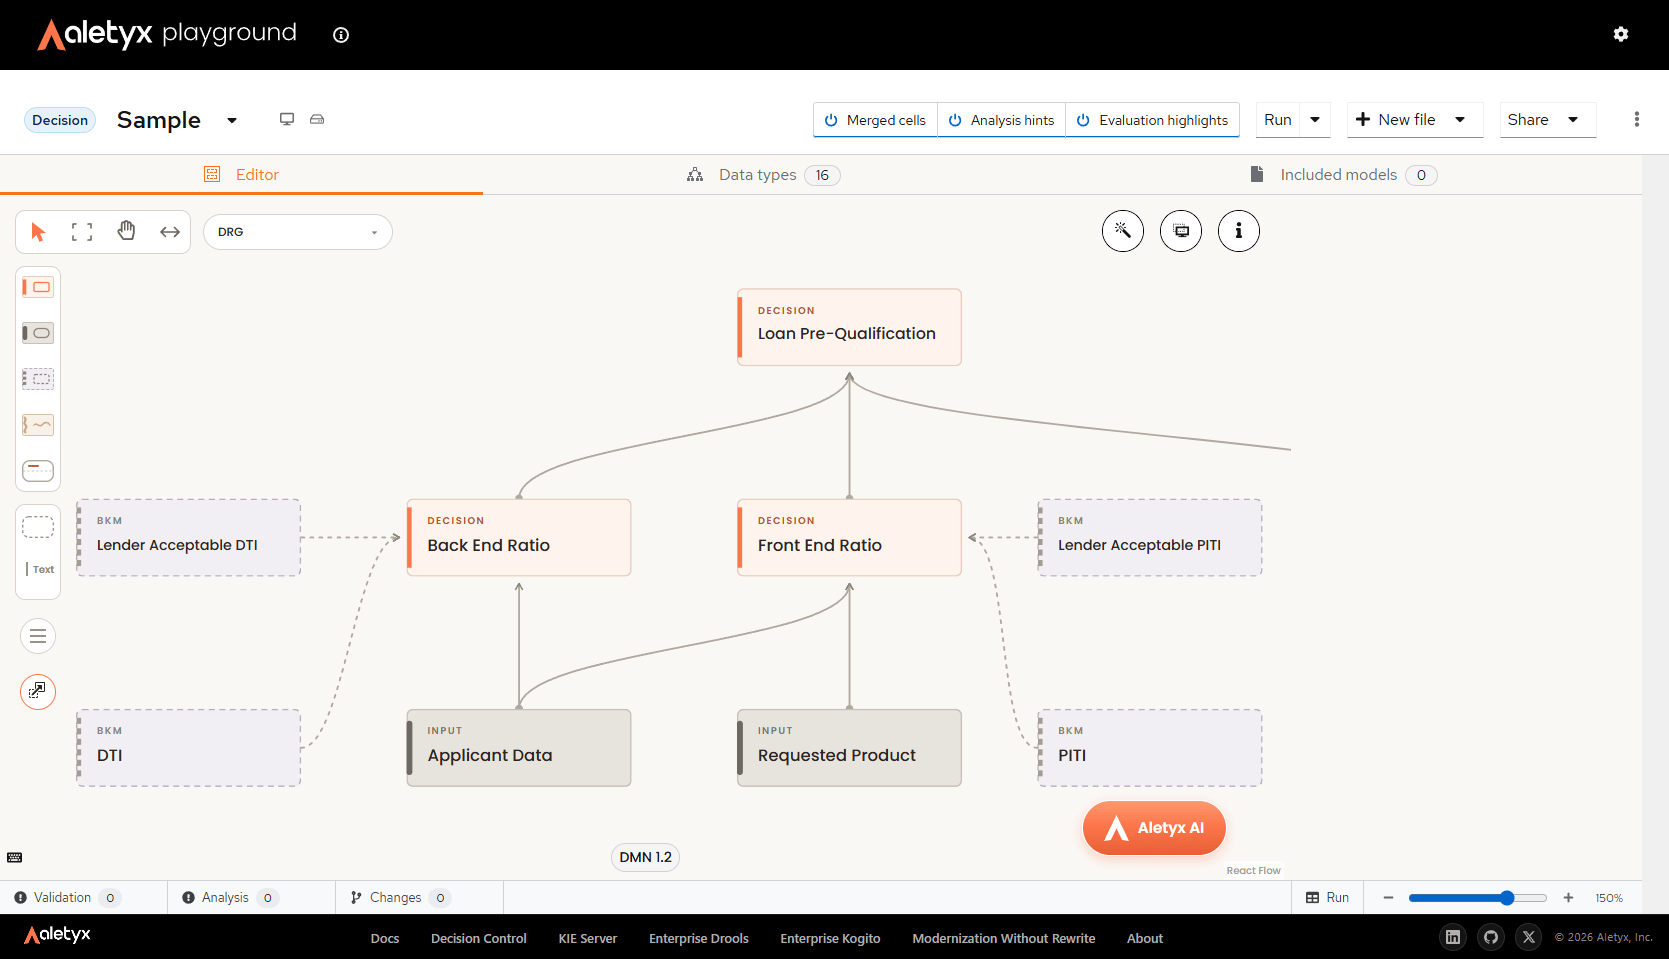
3
Click Aletyx AI - the assistant is disabled at first
Click the Aletyx AI button. The assistant panel opens and shows AI Assistant disabled: you can add an API key in Settings → AI Assistant, or subscribe first. Since you don’t have a key yet, click Subscribe.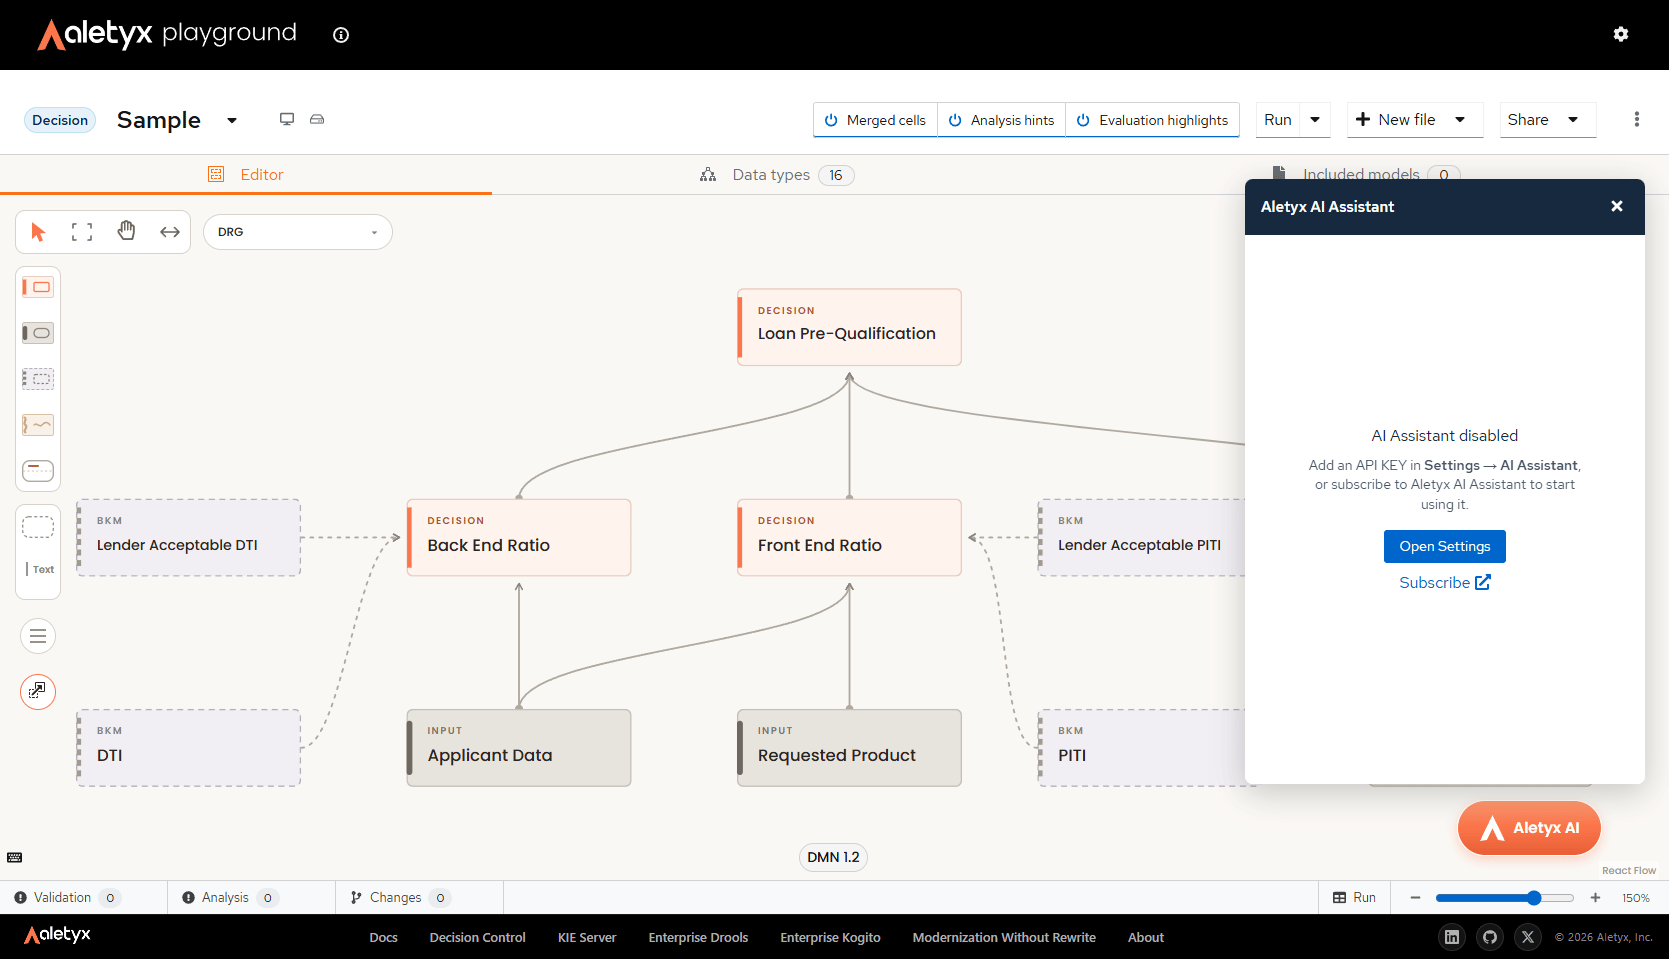
4
Start your trial
The Get Started with Aletyx AI Assistant checkout opens at my.aletyx.ai/ai-assistant. Enter your name, email, and payment method, pick your country, tick I agree to the Terms of Service and Privacy Policy, and click Start trial. There’s no charge today - the card is only captured for after the trial.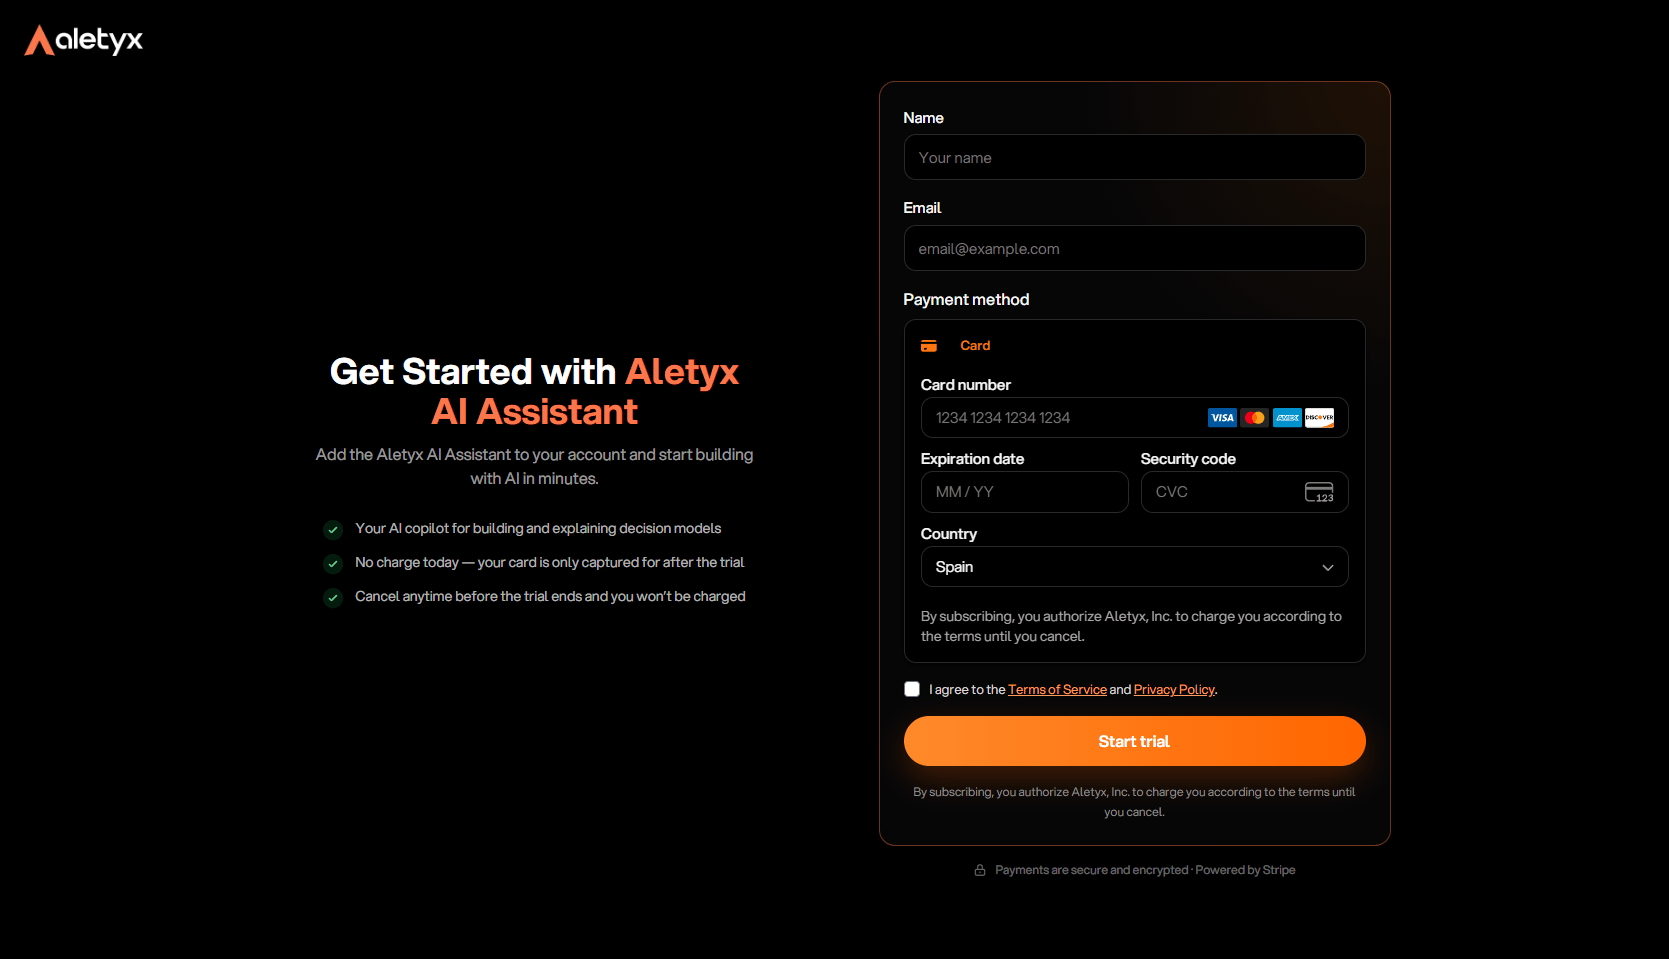
5
Wait for the checkout to complete and open the welcome email
The checkout confirms each stage as it finishes: Account Creation, Activating Account, and Payment Processing. When you see You’re all set!, check your email inbox for a link to access your dashboard.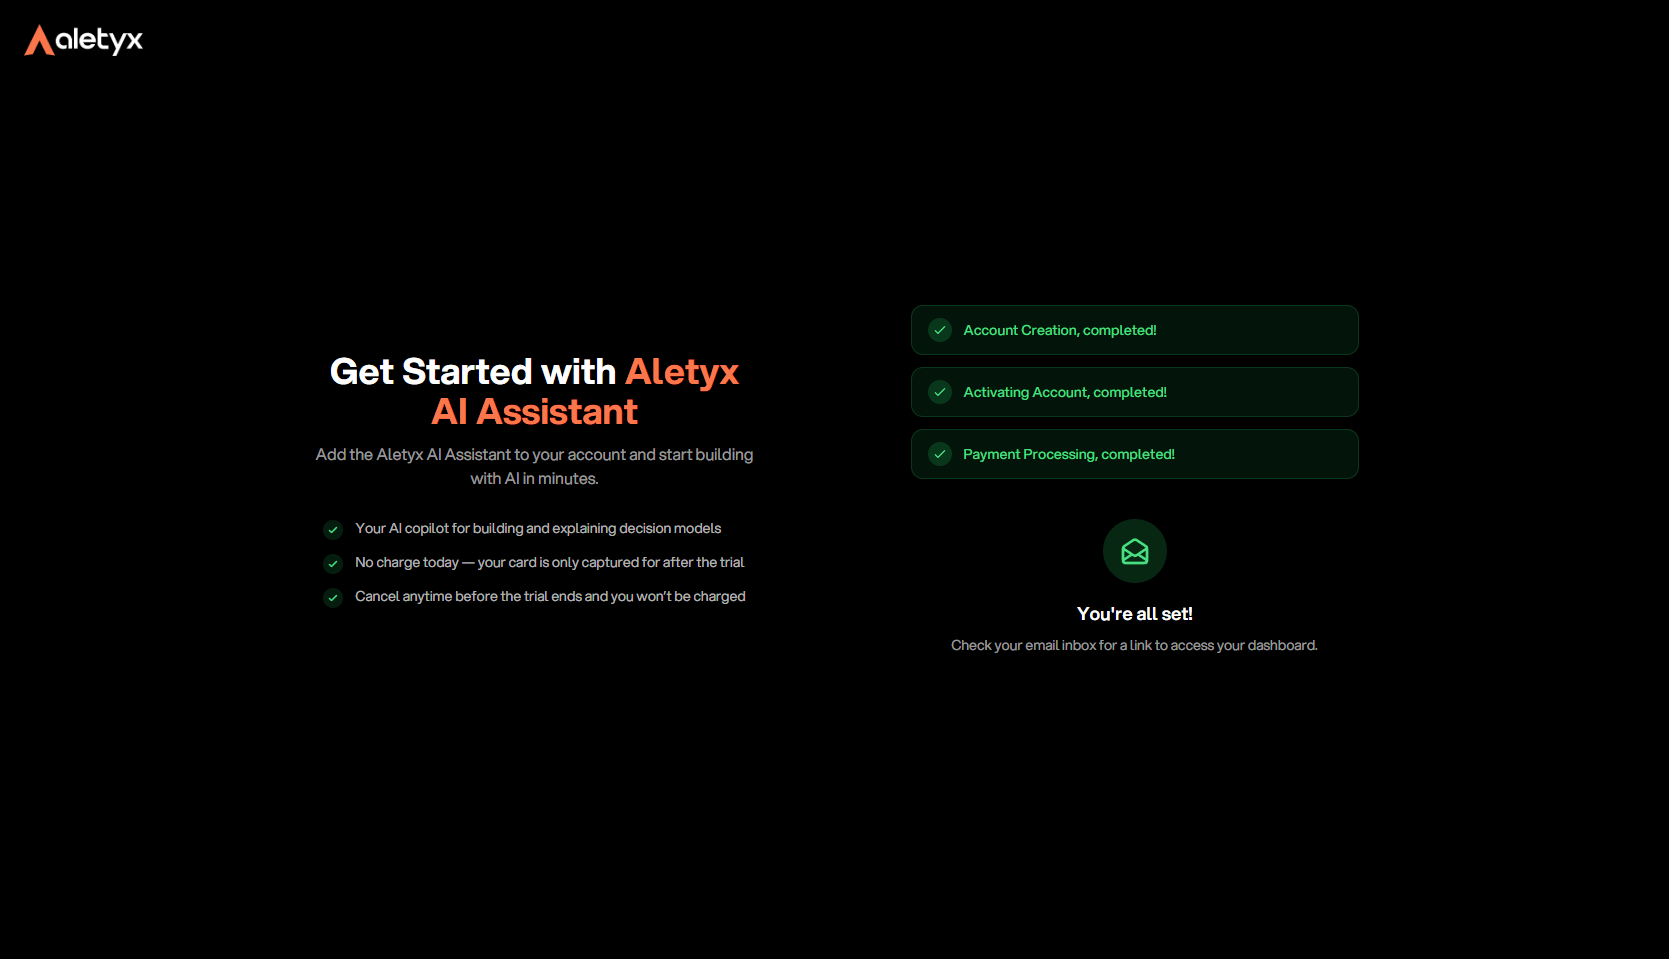
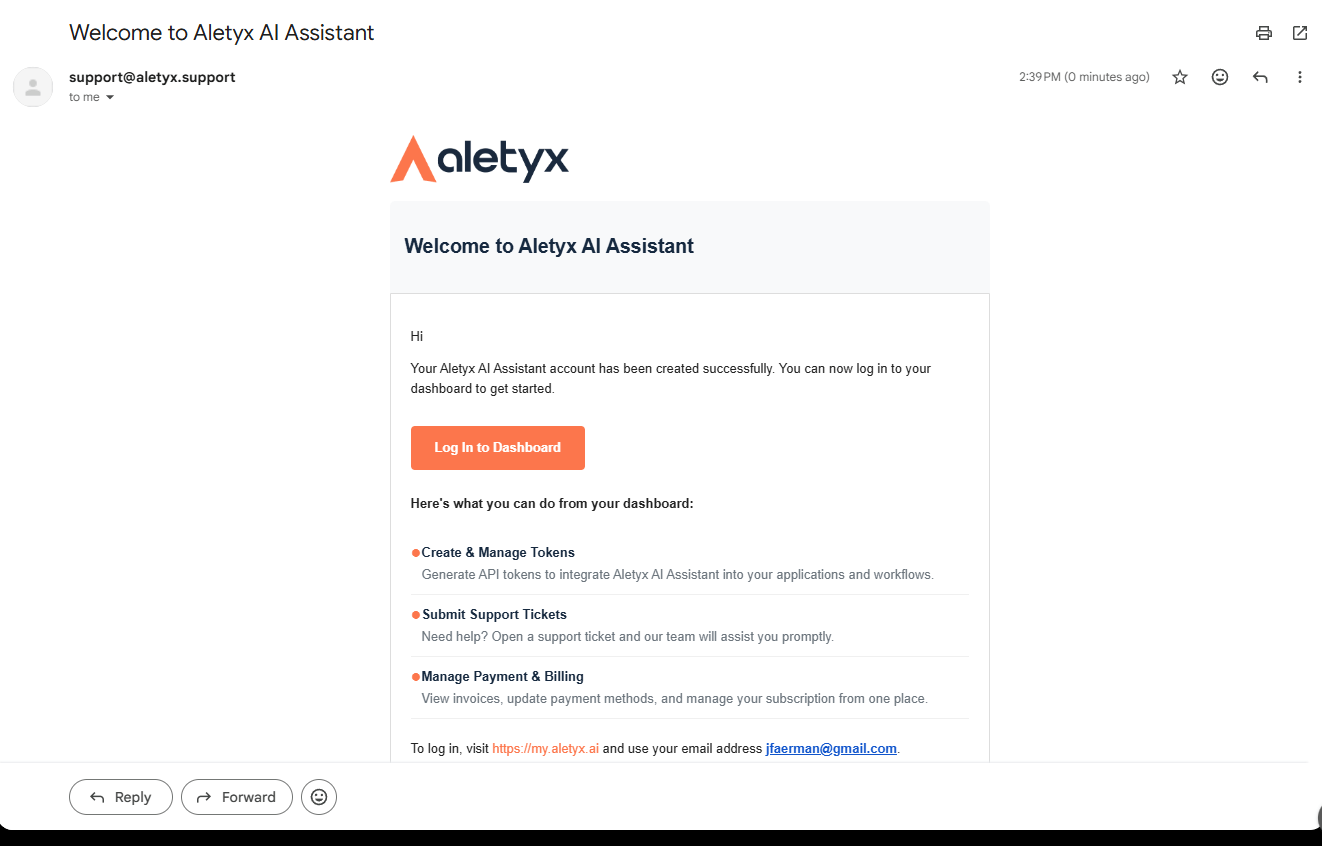
6
Sign in with a magic link
My Aletyx signs you in with a magic link - no password needed. Click Send Magic Link, then open the link from your inbox. The link expires after first use or 15 minutes.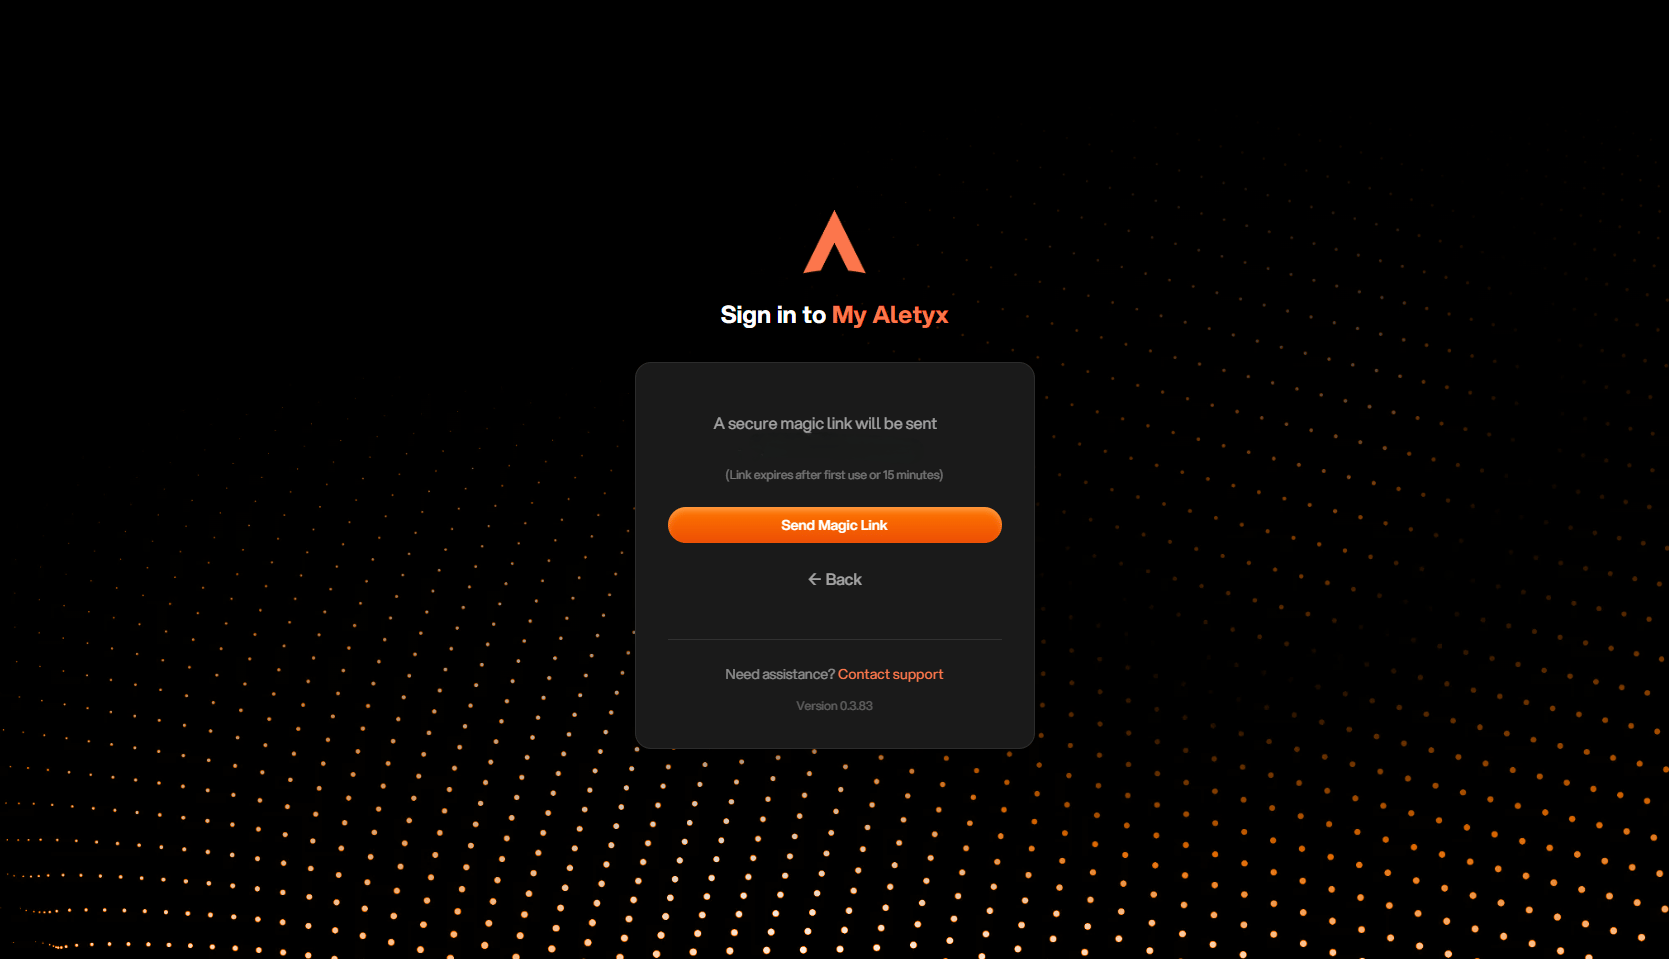
7
Open your dashboard
Your My Aletyx dashboard greets you with Get started in 2 steps: create an API key, then add it to the editor. Click Open API Keys to jump straight to the API Keys page.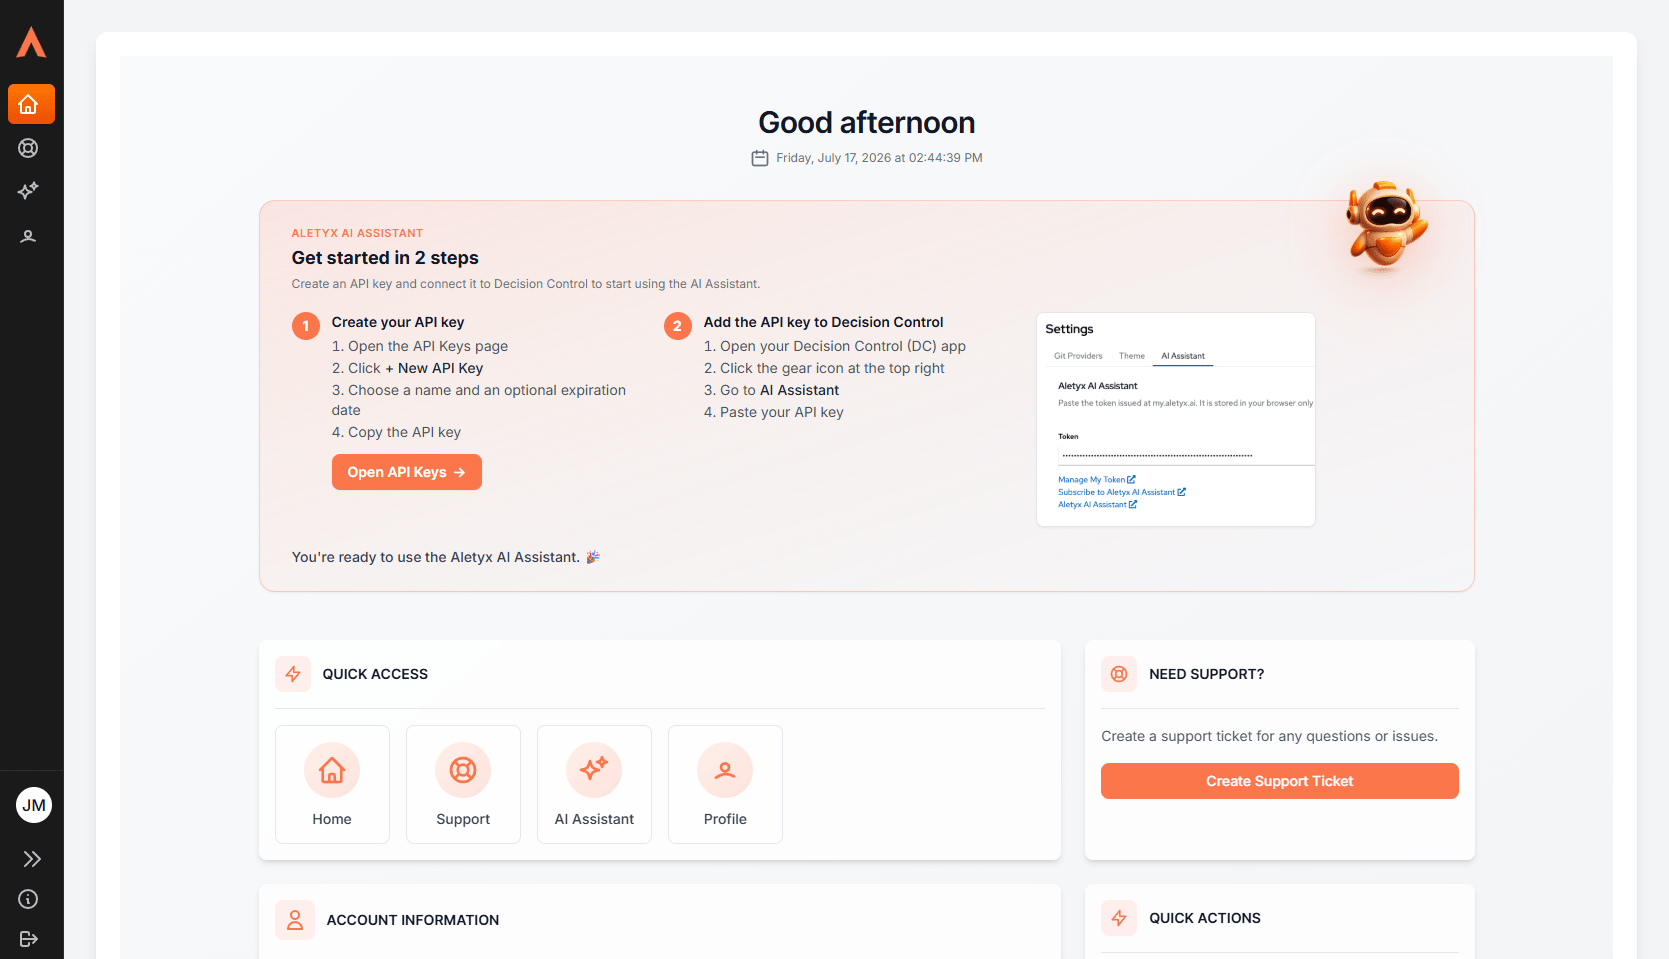
8
Create the API key
The AI Assistant section is where you manage your plan, credit, API keys, and invoices. On the API Keys tab, click + New API Key.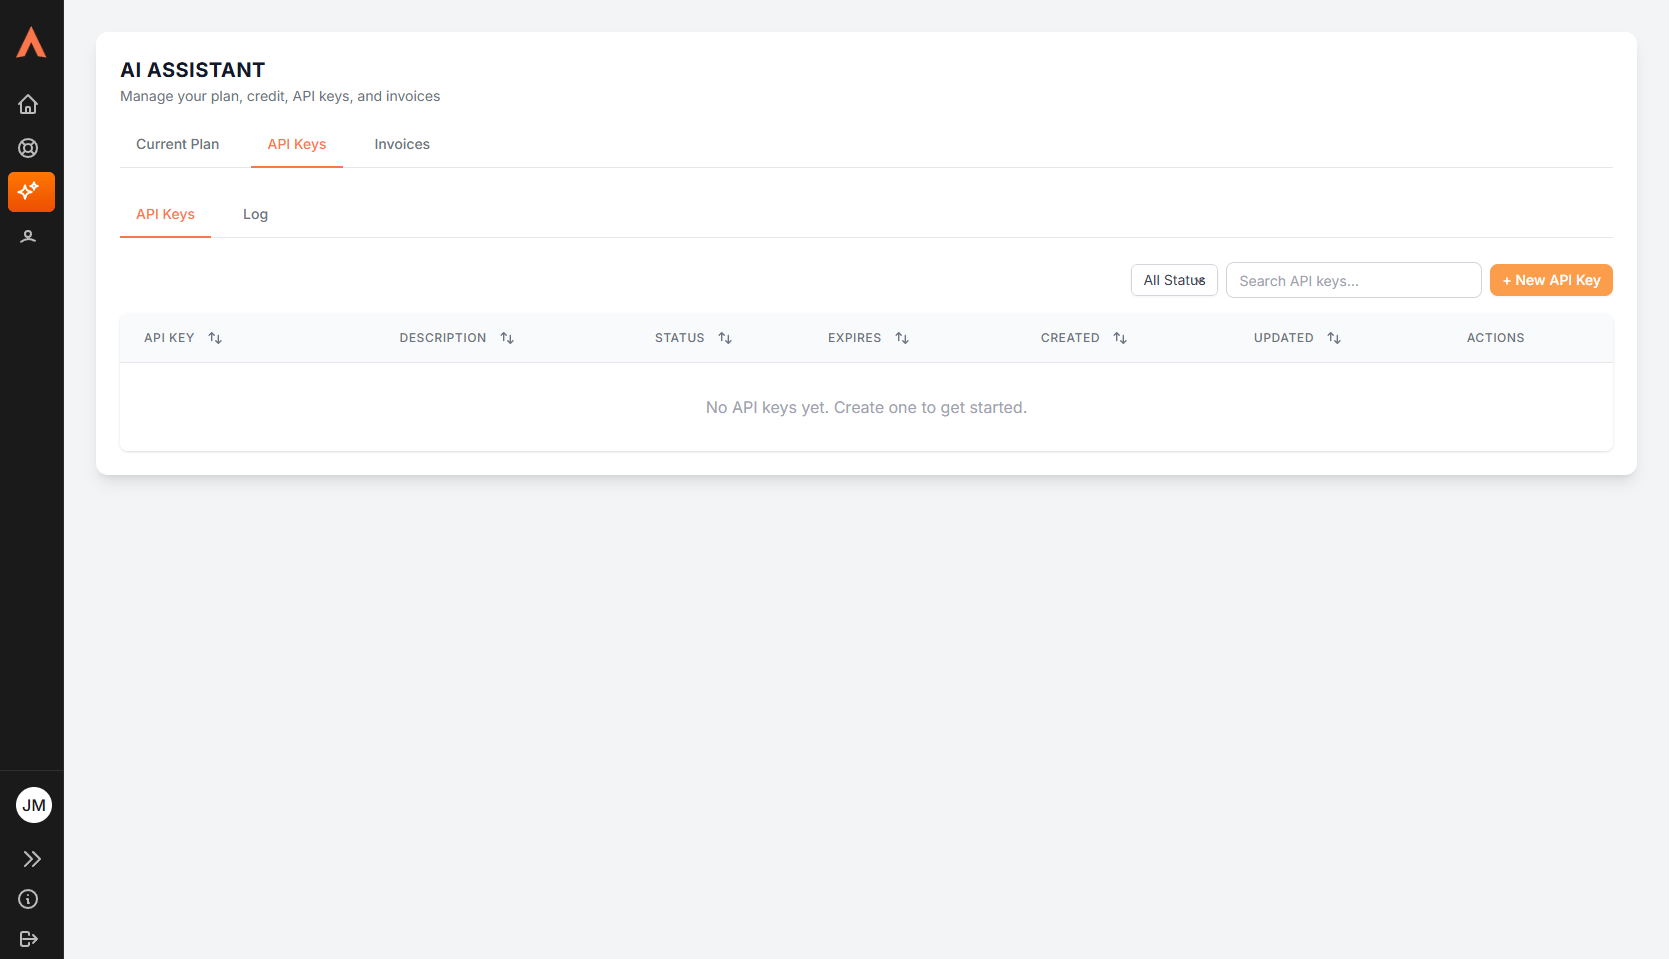
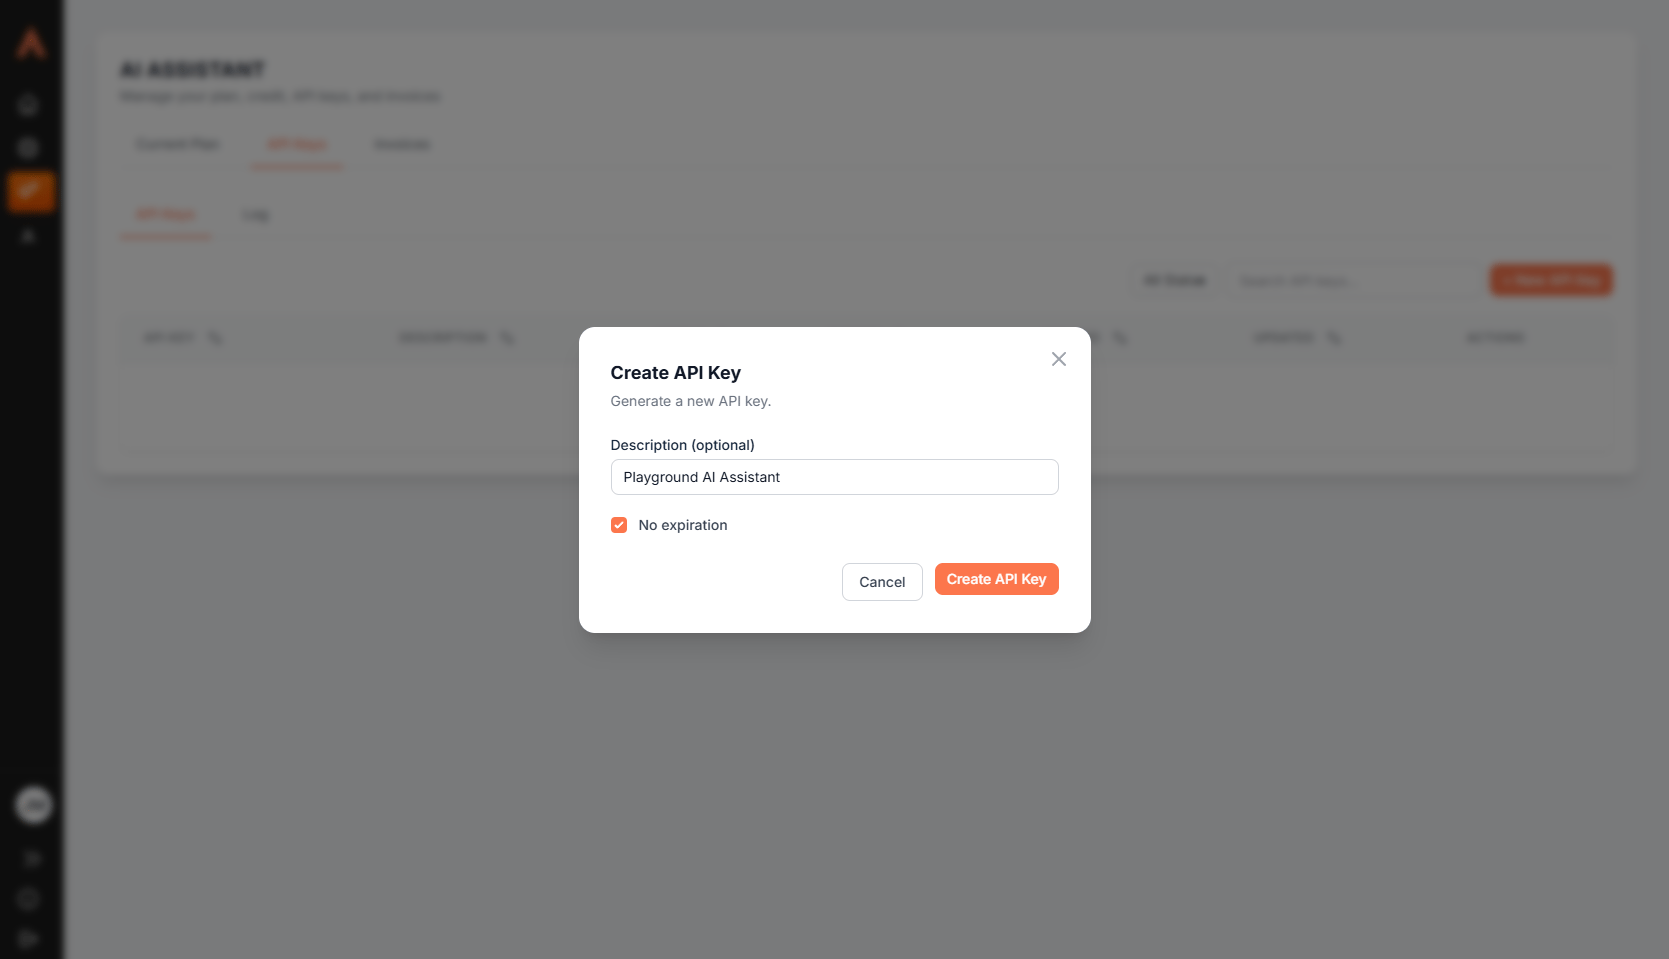
9
Copy the key - it's shown in full only once
The new key appears with an API Key created! banner. Copy it now - it won’t be shown again in full. If you lose it, revoke it from this list and create a new one.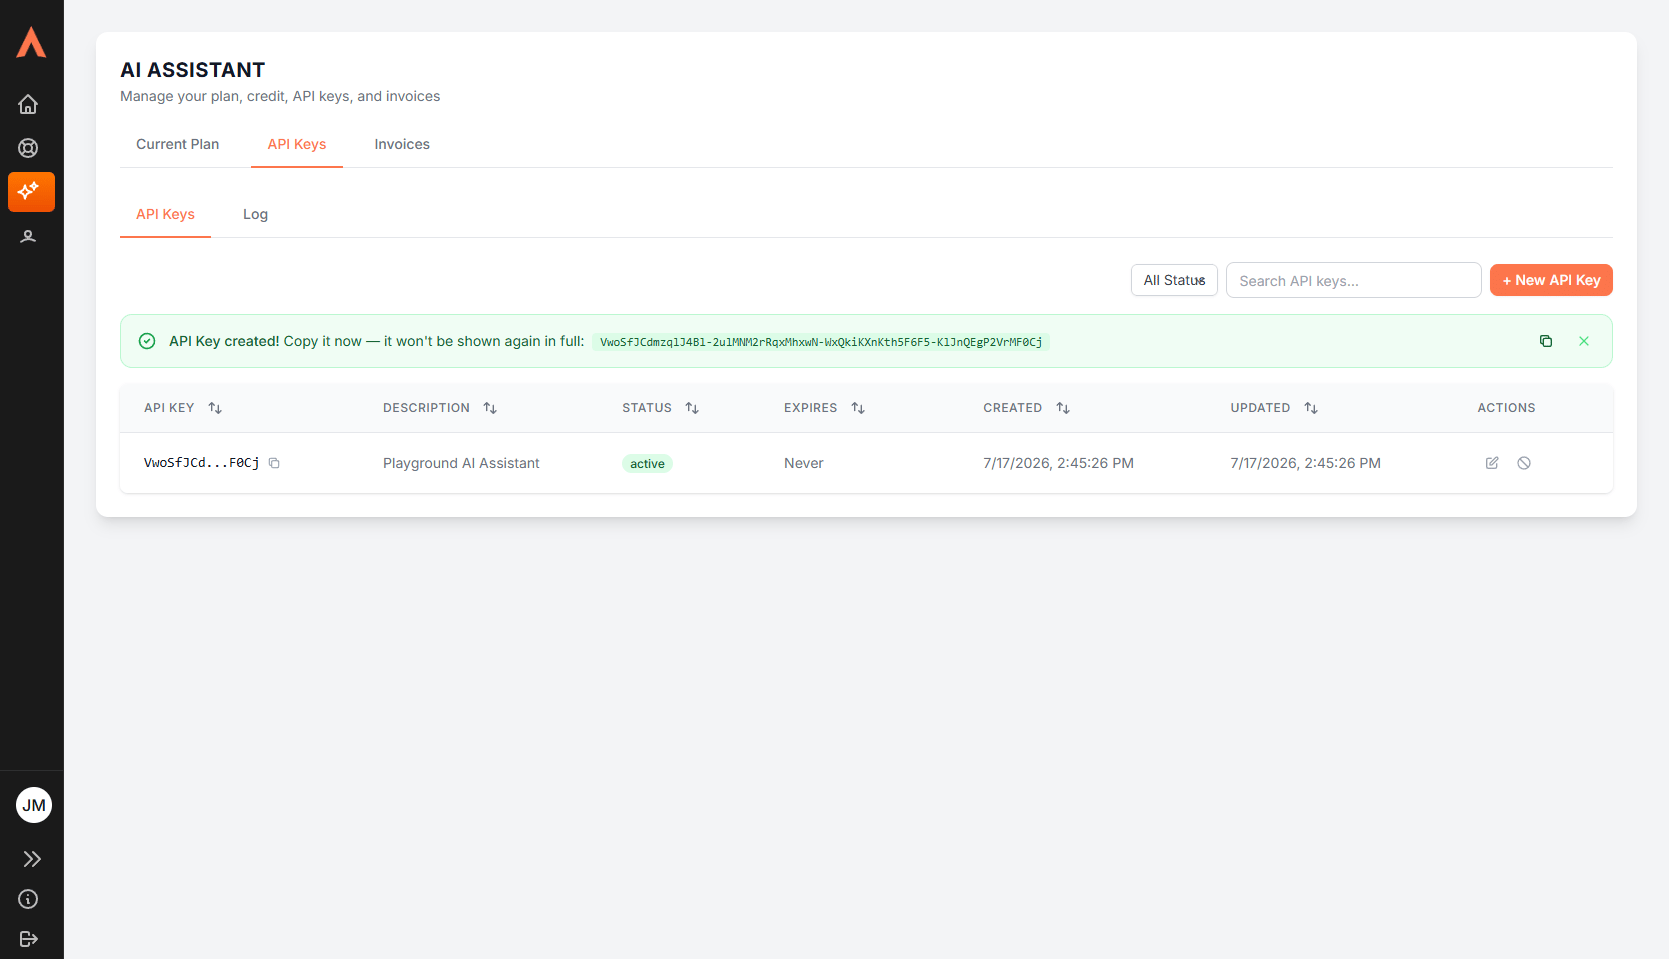
10
Paste the key into the Playground settings
Back in the Playground, click the gear icon (top-right) and open the AI Assistant tab in Settings. Paste the key into the API Key field - it’s validated automatically, and the status shows API key is valid. The key is stored in your browser only and sent with each AI request.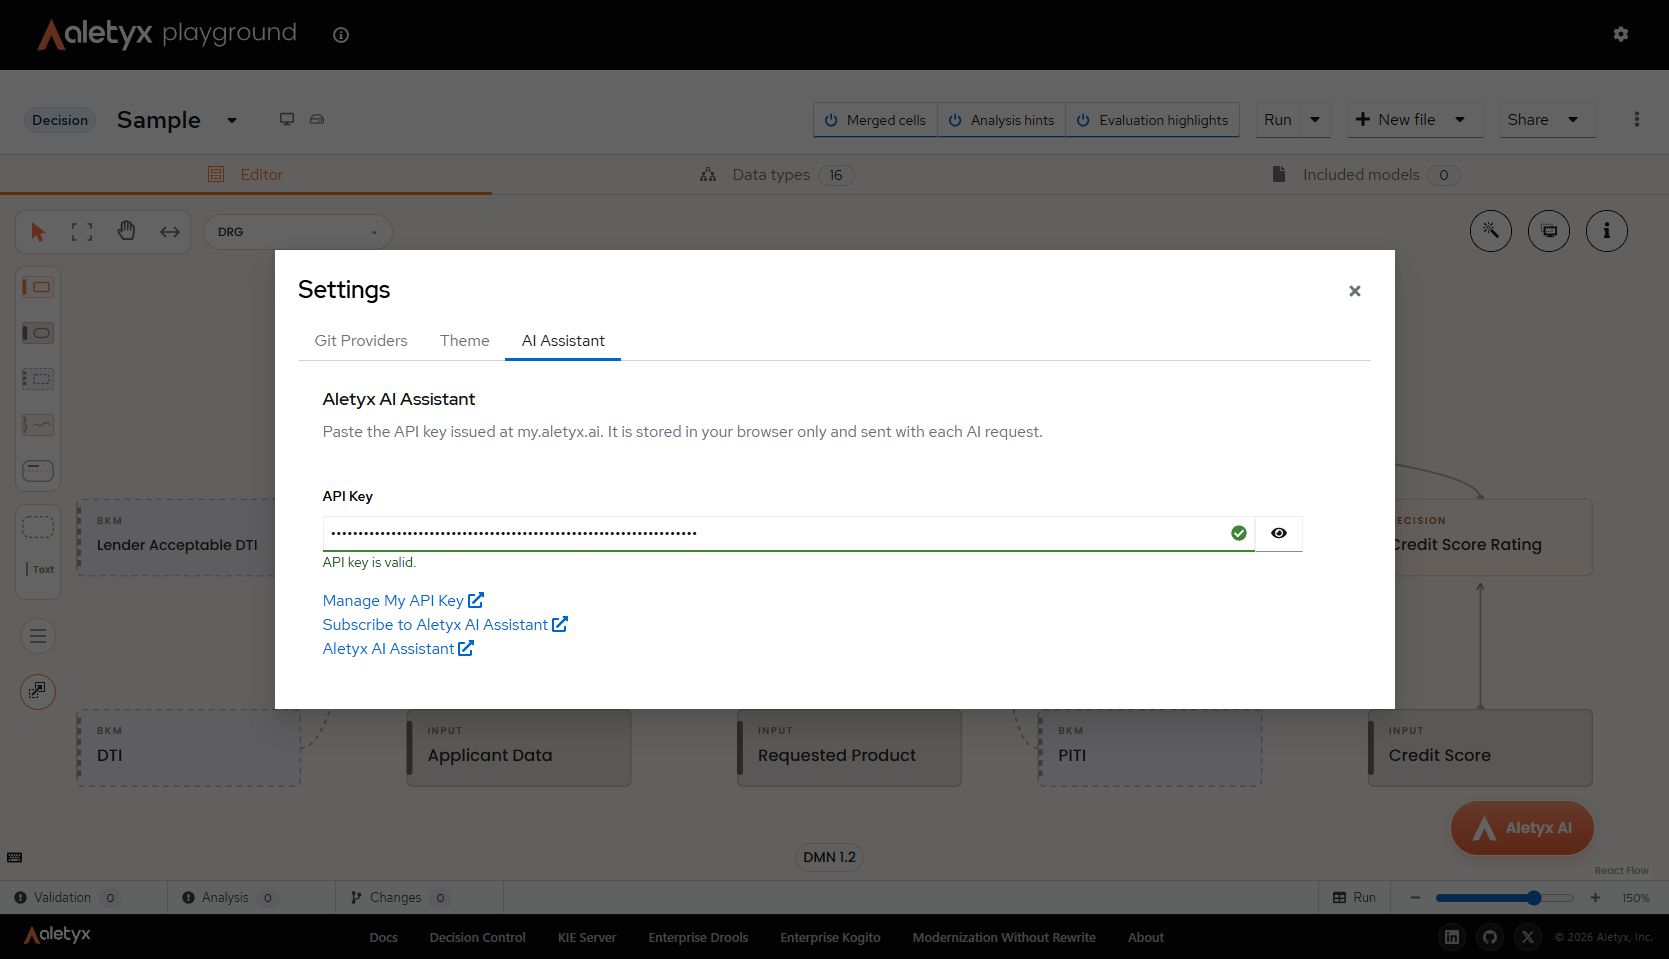
11
Start chatting with the assistant
Close Settings and click the Aletyx AI button again. The assistant is now active - ask it something about your model, like “Explain this decision model in plain language,” or describe a change you want and review its suggestion.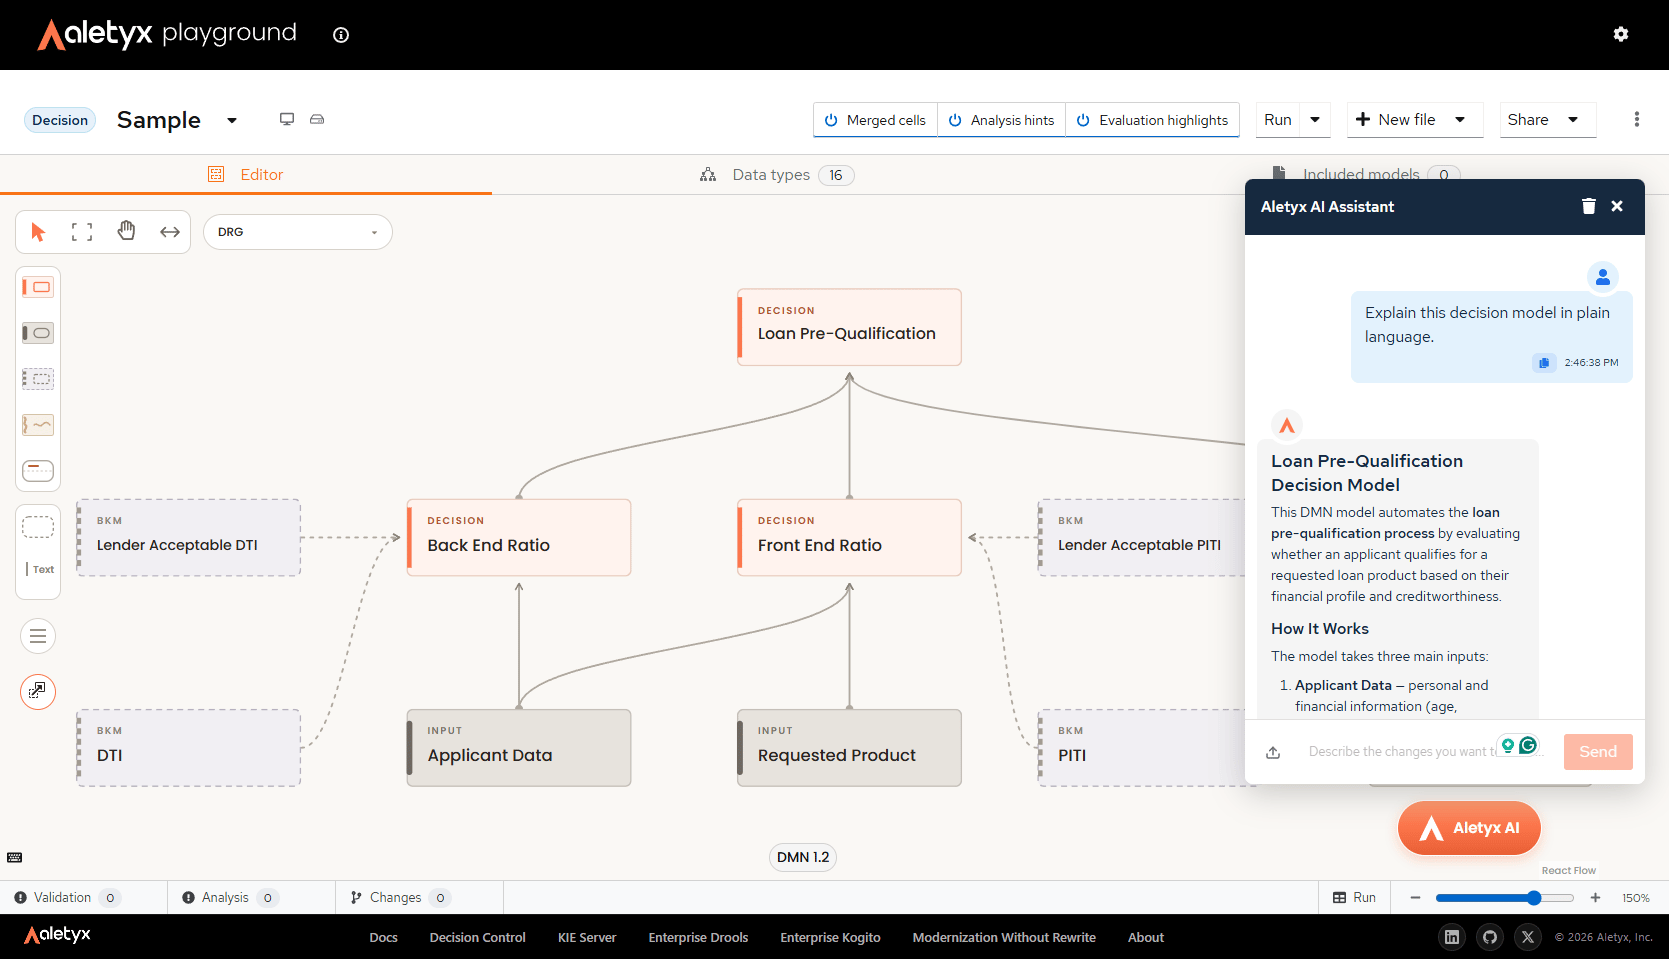
Your API key stays in your browserThe key is saved in your browser on this computer only - it isn’t shared with other people or devices. If you switch computers, paste it again. To turn the assistant off on a computer, clear the API Key field in Settings.
Next steps
- Ask the assistant to build or change a model by describing it - naming the fields, values, and conditions you want gives much better results than a vague request.
- Manage your plan, credit, and invoices anytime at my.aletyx.ai.
References
- Aletyx Playground - the free online editor used throughout this guide
- Playground DMN tutorial - build your first decision model in the Playground
- DMN concepts - what DMN is and how decision models are structured
- DMN reference - FEEL functions, reserved words, and the SELECT reference
- Drools - the rule engine that evaluates your decision models
- Aletyx AI Assistant product page - plans and product details