> ## Documentation Index
> Fetch the complete documentation index at: https://aletyx.ai/docs/llms.txt
> Use this file to discover all available pages before exploring further.
# Testing
> Use the Aletyx AI Assistant to generate test cases for your decision models - positive and negative, in plain language.
The Aletyx AI Assistant can generate test cases for your decision models: describe the scenario you want to test and it produces realistic input values shaped to the model's data types, so you can run them and confirm the decisions behave as intended. This page uses the **Loan Pre-Qualification** sample model, the same one from the [Setup guide](/docs/ai-assistant/setup).
## Generating tests
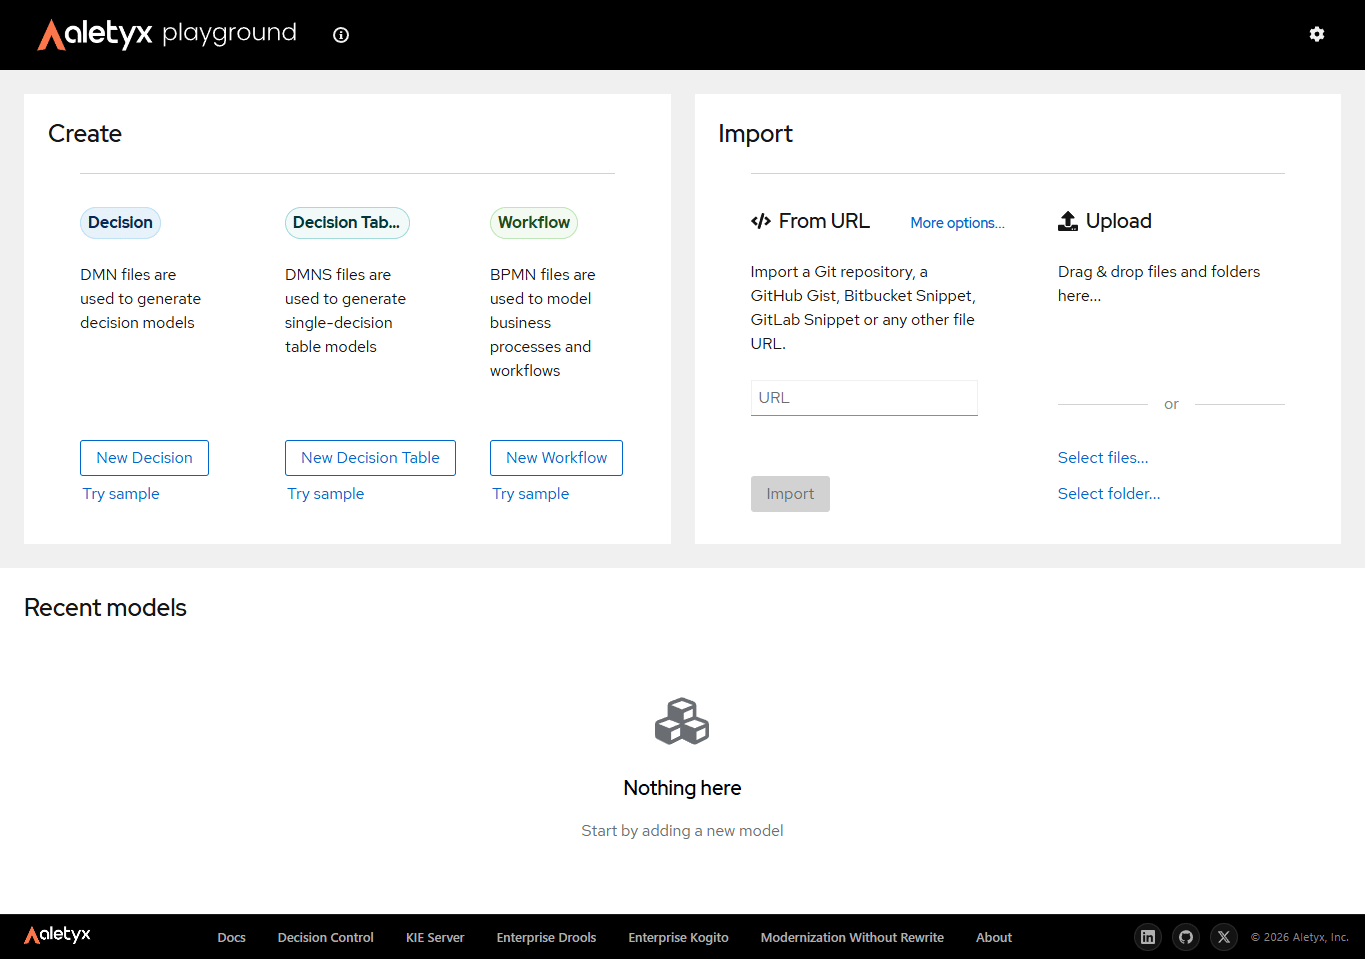
Start the same way as in the Setup guide: go to [playground.aletyx.ai](https://playground.aletyx.ai) and click **Try sample** under **Decision**.
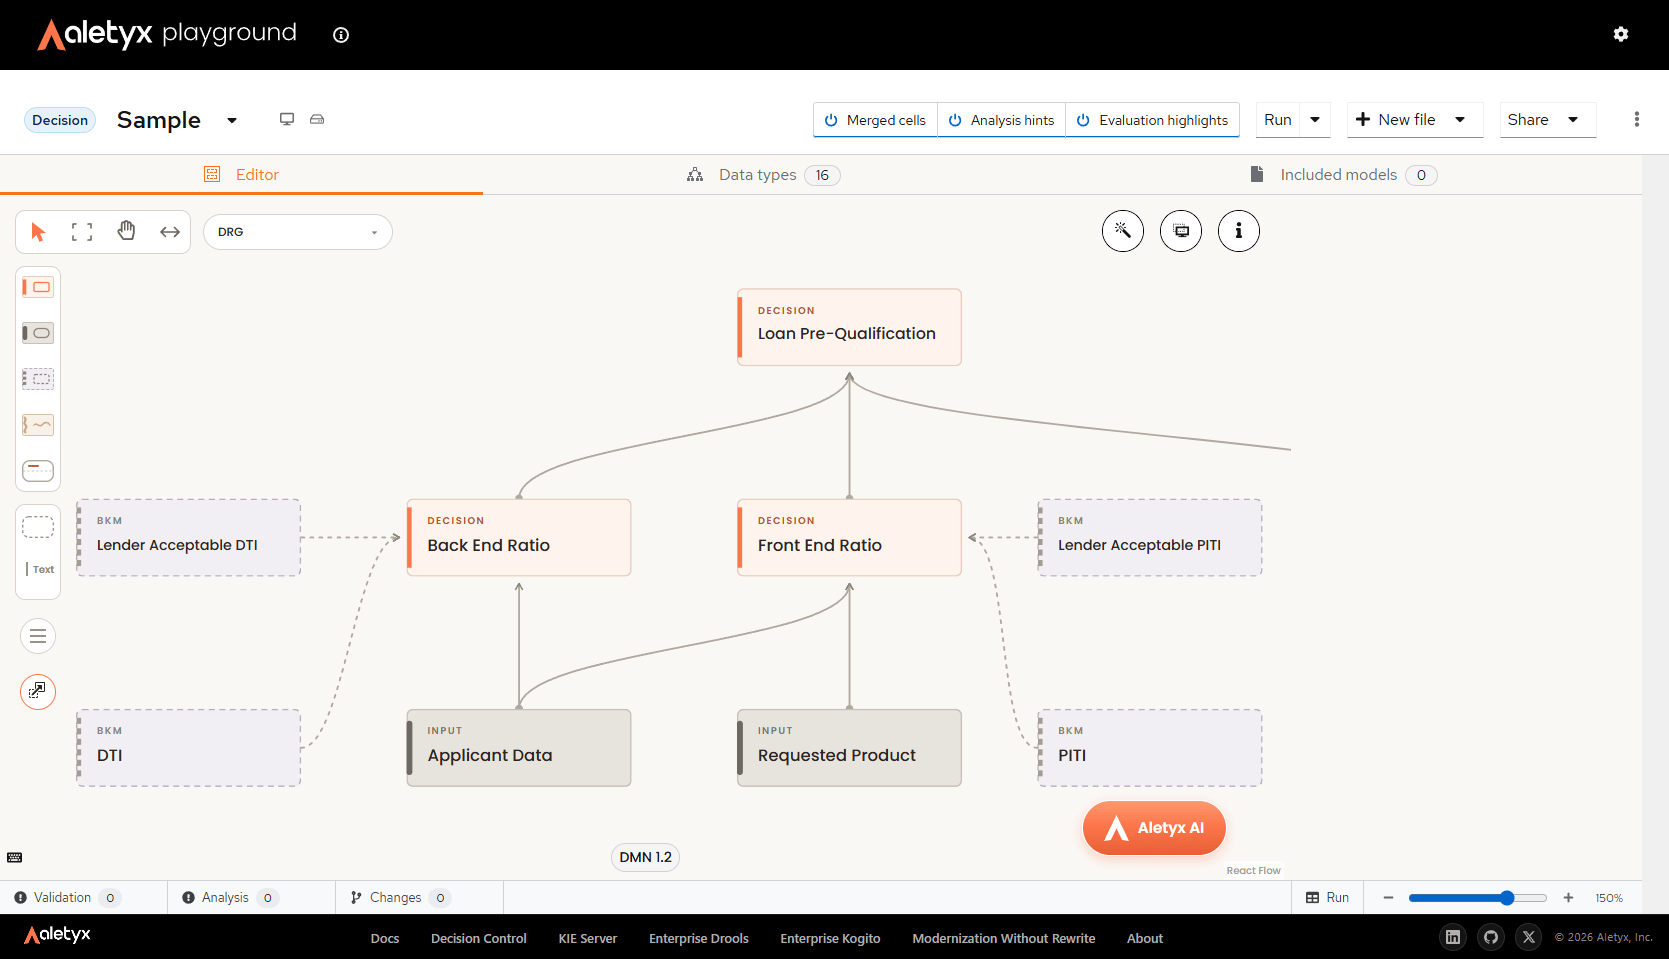
 The sample opens the **Loan Pre-Qualification** model in the decision editor. Click the floating **Aletyx AI** button at the bottom-right to open the assistant.
 ### Positive case
Start with a case in which the application should be approved:
```text wrap theme={null}
Generate a sample test for a positive case considering an application with excellent credit score and applicant data.
```
The assistant produces a complete set of inputs designed to qualify: a credit score and applicant data - income, expenses, and debts - that keep both the front end and back end ratios within their thresholds. Run the model with those inputs and the decision comes back **Qualified**.
### Negative case
Then ask for a case that should be denied:
```text wrap theme={null}
Generate a sample test for a negative case considering an application with insufficient credit score and applicant data.
```
This time the assistant shapes the application to fall short - in this run, with debts high enough to push the debt-to-income ratio past the acceptable threshold. Running it returns **Not Qualified** along with the reason, so you can confirm the model rejects applications that don't meet the criteria.
### Run and verify the tests
Open the test runner - use the test button the assistant provides with the generated cases, or the **Run** button at the bottom-right of the editor. The **Run** panel shows each test case as a row: the input values on the left and the evaluated results on the right, with the qualification and its reason for every case.
### Positive case
Start with a case in which the application should be approved:
```text wrap theme={null}
Generate a sample test for a positive case considering an application with excellent credit score and applicant data.
```
The assistant produces a complete set of inputs designed to qualify: a credit score and applicant data - income, expenses, and debts - that keep both the front end and back end ratios within their thresholds. Run the model with those inputs and the decision comes back **Qualified**.
### Negative case
Then ask for a case that should be denied:
```text wrap theme={null}
Generate a sample test for a negative case considering an application with insufficient credit score and applicant data.
```
This time the assistant shapes the application to fall short - in this run, with debts high enough to push the debt-to-income ratio past the acceptable threshold. Running it returns **Not Qualified** along with the reason, so you can confirm the model rejects applications that don't meet the criteria.
### Run and verify the tests
Open the test runner - use the test button the assistant provides with the generated cases, or the **Run** button at the bottom-right of the editor. The **Run** panel shows each test case as a row: the input values on the left and the evaluated results on the right, with the qualification and its reason for every case.
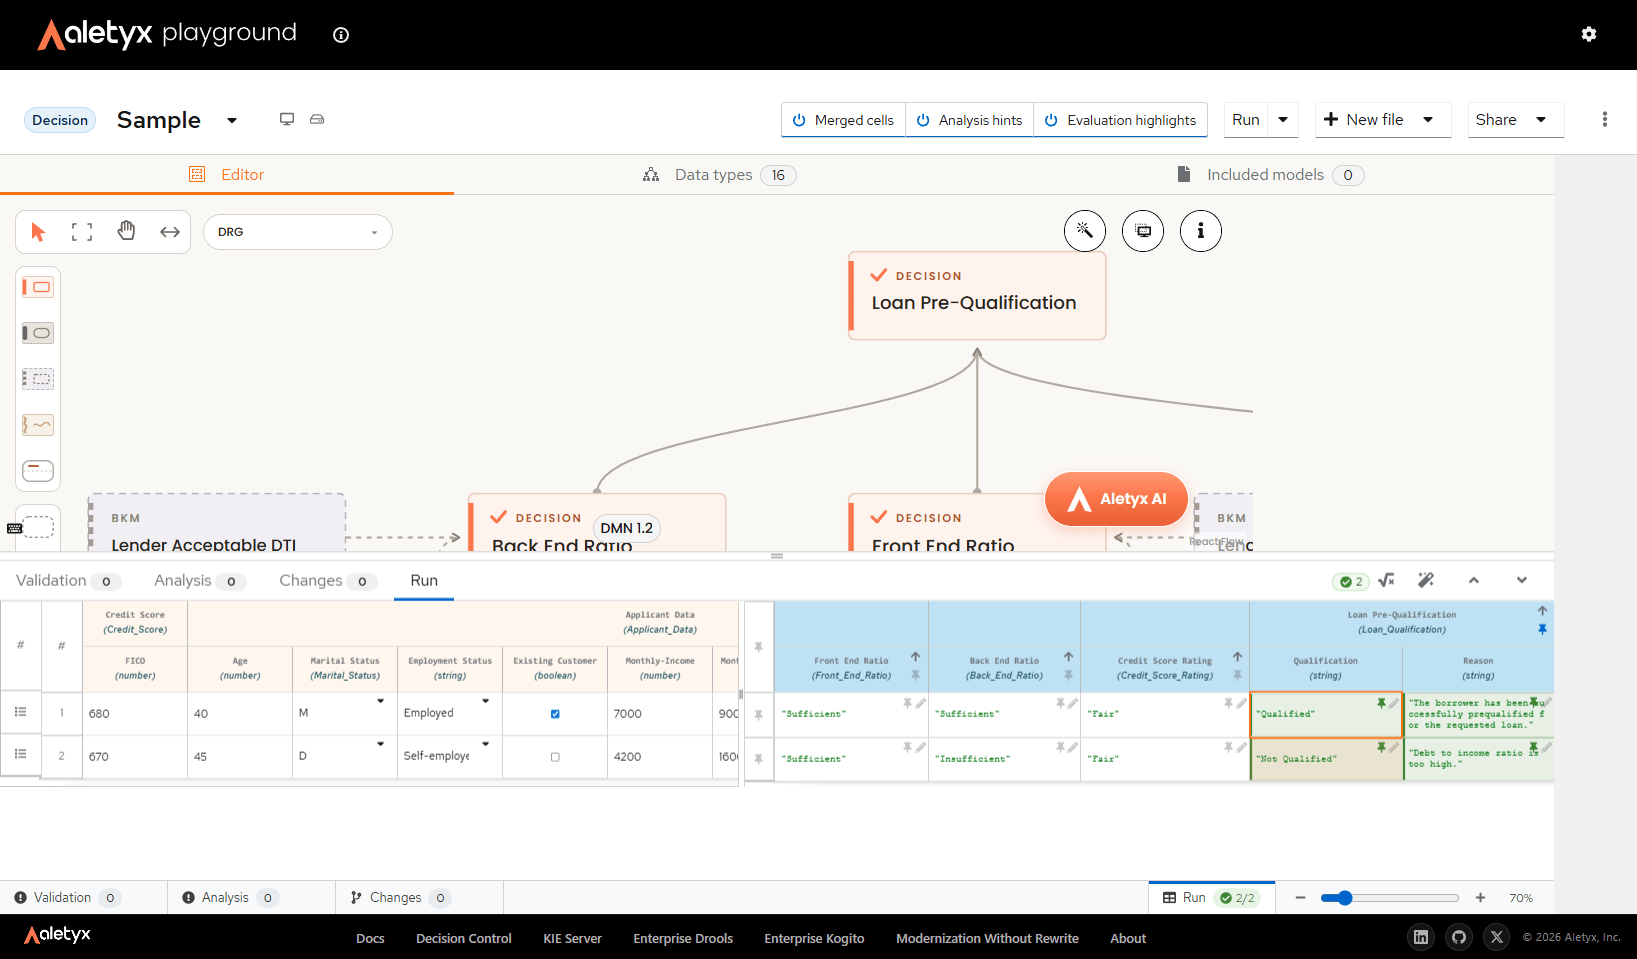 Verify that the values match what each scenario intended - the positive case comes back **Qualified**, and the negative case **Not Qualified** with the reason "Debt to income ratio is too high." When a result is correct, consider **pinning** it as the expected value using the pin icon on the result cell: pinned results turn the row into a proper test, and the runner checks every future run against them - the badge at the bottom-right shows how many cases pass (here, 2/2).